Goat Cheese and Chicken Enchiladas

Goat Cheese and Chicken Enchiladas

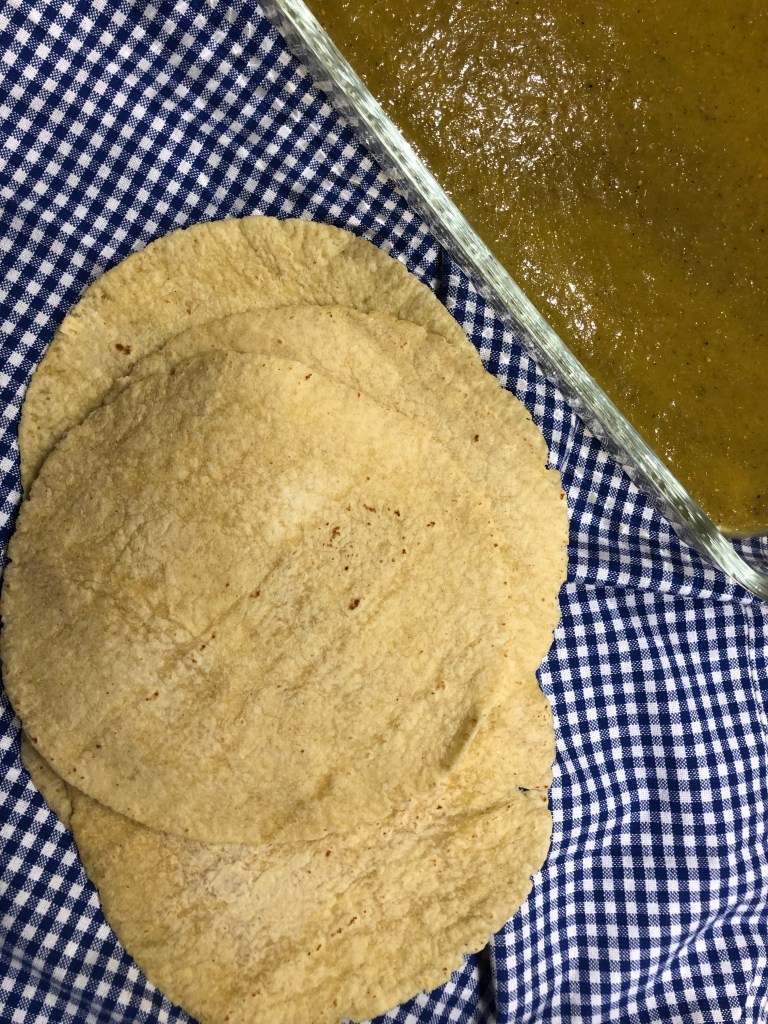
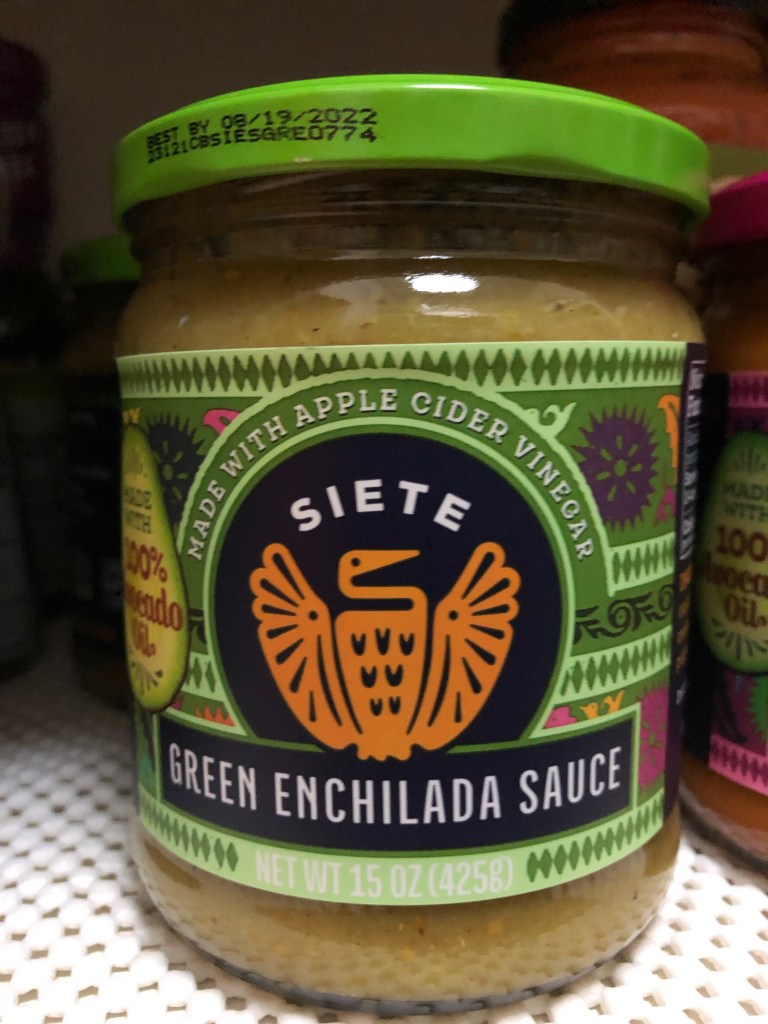
I am REALLY behind on food blogs. On a recent trip to Santa Fe I fell in love with the cuisine (again) and I picked up a Santa Fe Cooking School cookbook. I can’t wait to make some of the recipes. After adapting this recipe I made some home made corn tortillas (next blog) and I will be making this again! I made this batch with corn tortillas I bought from a Mexican market but home made is a game changer. I have a tortilla press on my Christmas list. I did not make my own green sauce but used a brand I found in the store so it made this a quick and wonderful meal, even on a weeknight. This can be made vegetarian by omitting the chicken.

Ingredients

6 corn tortillas
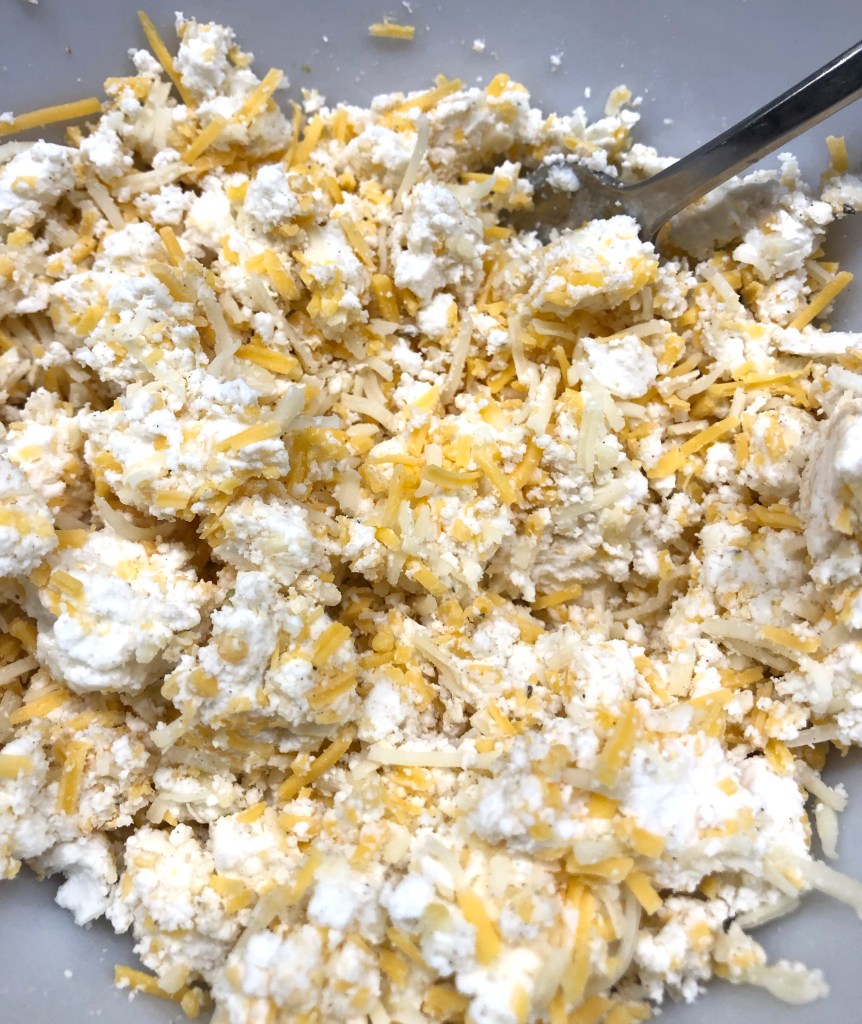
1 small package (4-6 oz) Goat cheese – depending on how cheesy you want
8 oz package of Mexican shredded cheese (Monterey Jack, Cheddar, asadero) or more
8 oz shredded chicken
1 Jar of green enchilada sauce
sliced avocado

Preheat oven to 350

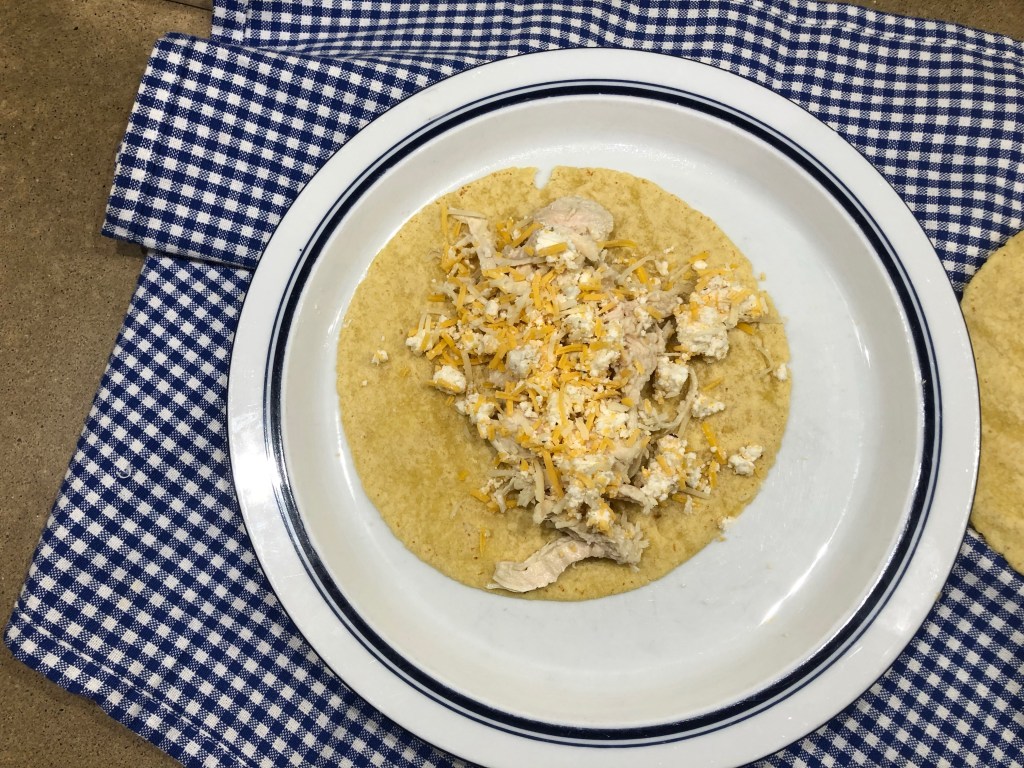
In a mixing bowl, combine 3/4 of the goat cheese, chicken and 3/4 of the shredded cheeses.

Lightly grease a 9 x 13 inch pyrex dish. Pour half the jar of green enchilada sauce into the baking dish and spread evenly on bottom.

Preheat a skillet over medium-high heat. Place a corn tortilla in the pan and heat about one minute, Turn and heat for about another 30 seconds.

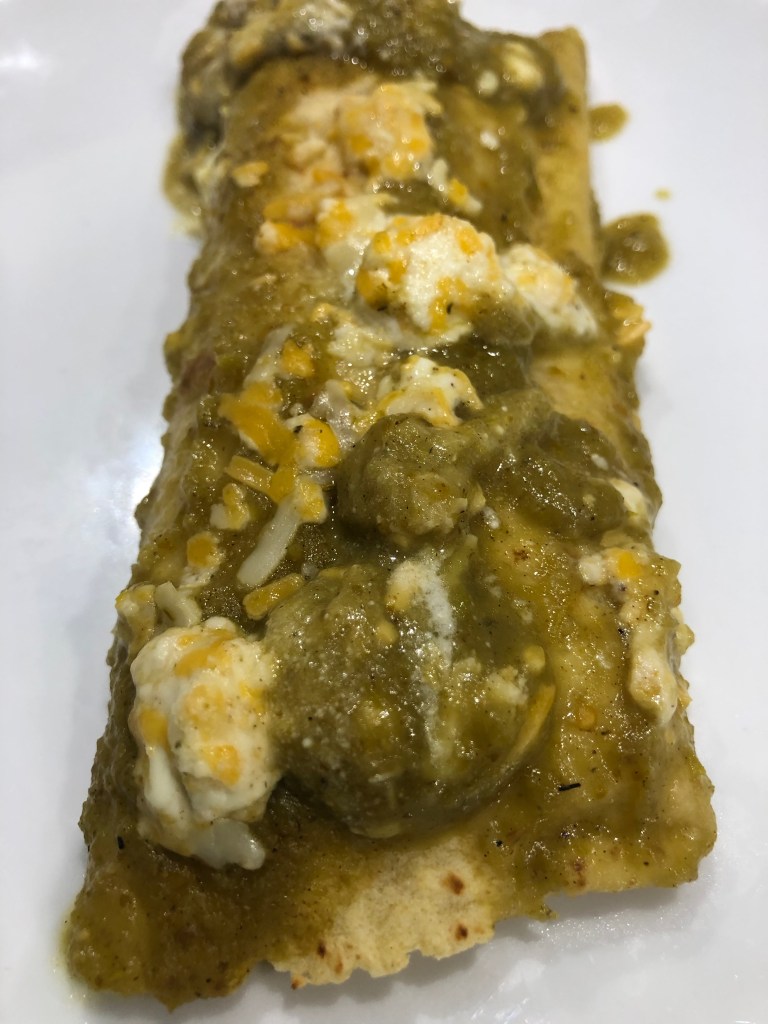
Fill the warm tortilla with the cheese mixture about half a cup down the middle. Roll up the tortilla and place seam side down in the baking dish. Repeat with the remaining tortillas. Cover with the remaining green sauce. Sprinkle with the remaining shredded cheese and goat cheese. Bake until heated through and cheese is bubbly and melting. About 25 minutes.

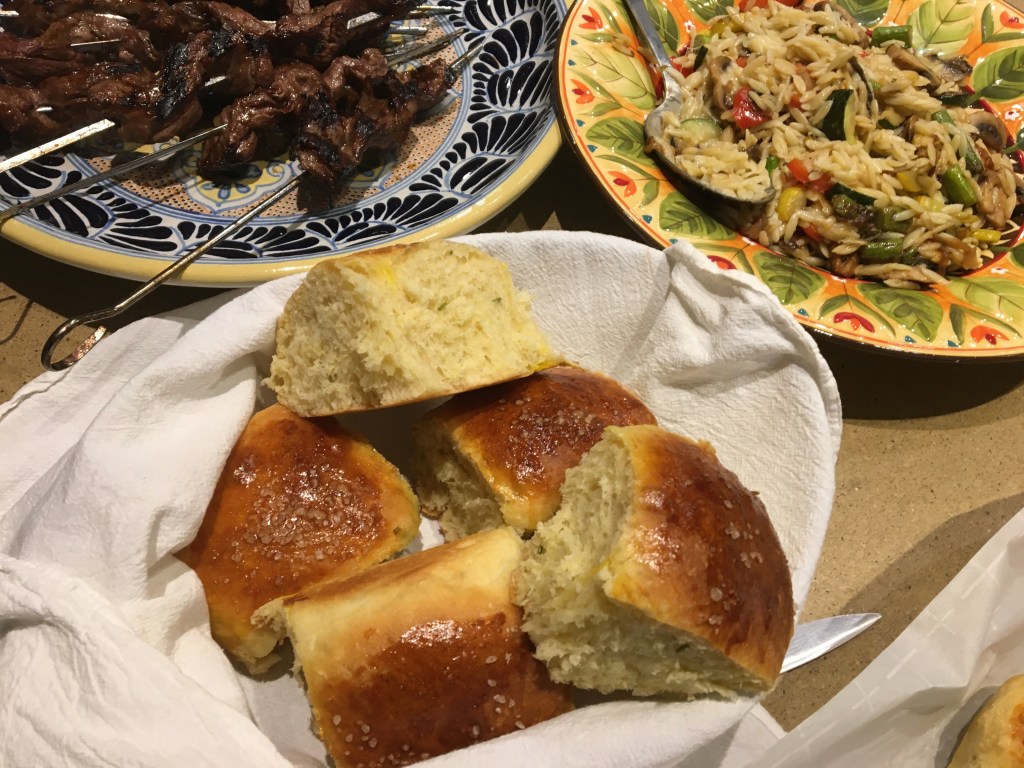
I served with sliced avocado, cornbread and a green salad

Advertisement
Honey Chicken

Honey Chicken

We started keeping bees this spring and were rewarded with a bumper crop (?) of honey. Hive honey is wonderful. I searched for some recipes to put it to use. I took a recipe from recipetineats.com and made some changes. I think I might like to add walnuts to the recipe next time. This would be good with tofu or shrimp, too.

Ingredients

  • 4-6 chicken thighs, boneless and skinless
  • Salt and pepper
  • 1/4 cup flour 
  • smoked paprika
  • 3.5 tbsp butter (or 2 1/2 tbsp olive oil)
  • 1.5 tbsp balsamic vinegar
  • 1 tbsp soy sauce, low sodium
  • 1/3 cup honey

Instructions

  • Sprinkle each side of chicken with salt and pepper.
  • Place flour in a shallow dish. Coat chicken in flour and shake off excess.
  • Sprinkle with smoked paprika.
  • Melt most of the butter in a large skillet over high heat – hold back about 1 tsp for later.
  • Place chicken in skillet and cook for 2 – 3 minutes until golden. Turn and cook the other side for 1 minute.
  • Turn heat down slightly to medium high.
  • Make a bit of room in the pan and add remaining tbsp of butter.
  • Add vinegar, soy sauce and honey. Stir / shake pan to combine. Bring sauce to simmer, then simmer for 1 minute or until slightly thickened.
  • Turn chicken to coat in sauce. If the sauce gets too thick, add a touch of water and stir.
  • Remove from stove immediately. Place chicken on plates and drizzle over remaining sauce.
Chinese Chicken Salad

Chinese Chicken Salad

This is a great, quick meal. I used a bag of salad and angel hair cabbage. This was adapted from Recipetineats.com. I used a package of shredded chicken which added to the easy prep and the cubed frozen ginger which I LOVE. We liked this so much we made it again the next day using just napa cabbage and green leaf lettuce.

Ingredients

Asian Dressing

  • 3 tbsp low sodium soy sauce 
  • 1 tbs balsamic vinegar
  • 3 tbsp rice vinegar
  • 1 tbsp sesame oil (toasted)
  • 2 tbsp canola oil
  • 1 tsp sugar
  • 1 1/2 tsp fresh ginger, grated or very finely chopped (I used 1 frozen cube of the Crush ginger)

Salad

  • 4 cups Chinese cabbage or regular cabbage, finely shredded (I used a package of regular cabbage-angle hair)
  • 1 1/2 cups red cabbage , finely shredded
  • 1 cup carrot, finely shredded
  • 2 cups chicken, shredded

Garnishes

  • 1 cup crunchy noodles
  • 1 – 2 tsp sesame seeds (optional)

Instructions

  • Combine the Dressing ingredients in a bowl and whisk to combine. Set aside for 10 minutes or so for the flavours to meld.
  • Place the Salad ingredients together in a large bowl along with half the crunchy noodles. Drizzle over dressing then toss.
  • Divide between serving bowls. Top with more crunchy noodles and a good sprinkle of sesame seeds. Serve immediately!

Notes

1. Light soy sauce is lighter in colour and flavor than ordinary soy sauce. Ordinary soy sauce is fine to use too. Do not use dark or sweet soy sauce. Sesame oil – use toasted sesame oil.

2. Chinese Cabbage is my favourite in this because it’s softer than other green cabbages. If you use another green cabbage (or all red cabbage), toss salad with dressing WITHOUT noodles, leave for 10 minutes to let cabbage soften slightly. Then proceed with recipe.

3. You can buy crunchy fried noodles in the Asian section of supermarkets. They are cheap – just over $1 for a packet. You can use any crunchy fried noodles. I used Kroger brand.

4. Make ahead: Keep salad, dressing and garnishes separate until ready to serve. Chopped salad keeps for 5 days in an airtight container.

Dressing keeps for 2 to 3 days in fridge, if keeping longer, add ginger before serving. Cooked chicken keeps for 3 days in the fridge – can also be frozen. 

Salmon Curry

Salmon Curry

This was an easy week night meal! It would be great with shrimp or chicken. I think it would even work with tofu if you wanted to make it vegetarian. This was inspired by a blog I like “recipetineats”. It called for some items I did not have in the pantry or could not get (like fresh lemongrass) s oI made it my own with what I had on hand.

Ingredients

  • ▢ 3 salmon fillets
  • ▢ Salt and pepper
  • ▢ 1.5 tbsp oil , separated
  • ▢ 1.5 tsp ginger , finely grated or frozen cubes
  • ▢ 1 tbsp brown sugar
  • ▢ half jar of Trader Joe’s red Curry Sauce
  • ▢ 8 oz coconut milk (I used Low fat)
  • ▢ 1 tbsp soy sauce sauce 
  • ▢ 1.5 tsp lime zest (1 lime)
  • ▢ Lime juice , to taste

Directions

  • Sprinkle both sides of salmon with salt and pepper.
  • Heat 1 tbsp oil in a non stick pan or well seasoned skillet over medium high heat. Add salmon, skin side up, and sear for just 1 1/2 minutes until golden. Turn salmon and cook the other side just for 1 minute, then remove onto a plate (should still be raw inside).
  • Turn heat down to medium low and allow skillet to cool.
  • Heat remaining 1 tbsp oil. Add ginger. Cook until garlic is light golden ~ 1 minute.
  • Add sugar and cook for 20 seconds until it becomes a caramel (see video). Then stir in chilli paste/sauce
  • Add coconut milk and stir, scraping the bottom of the skillet to dissolve any bits stuck on the base into the sauce.
  • Stir in soy sauce, increase heat to medium. Simmer for 2 minutes.
  • Place salmon into the sauce, lower heat and simmer gently for 4 minutes, or until just cooked.
  • Remove salmon, stir in lime zest and juice to taste. Adjust salt to taste with fish sauce.
  • Serve salmon over noodles or rice. .

CHICKEN SATAY WITH PEANUT SAUCE

I put the marinade together at lunch and it made for a quick weeknight dinner. I served over rice with broccoli roasted with olive oil in a foil packet on the grill. Adapted from the blog damndelicious. The sauce would be excellent on its own drizzled over gilled meat or roasted veggies.I warmed up the sauce in the microwave for about 15 seconds before drizzling over the rice and meat.

These are great to keep in the freezer!

INGREDIENTS:

FOR THE MARINADE

  • 1/4 cup coconut milk
  • 2 tablespoons reduced sodium soy sauce
  • 1 1/2 teaspoons turmeric
  • 1 tablespoon freshly grated ginger
  • 1 tablespoon brown sugar
  • 2 pounds boneless, skinless chicken thighs, cut into strips

FOR THE PEANUT SAUCE

  • 3 tablespoons creamy peanut butter
  • 1 tablespoon reduced sodium soy sauce
  • 1 tablespoon freshly squeezed lime juice
  • 2 teaspoons brown sugar
  • 1 teaspoon freshly grated ginger

DIRECTIONS:

  1. To make the peanut sauce, whisk together peanut butter, soy sauce, lime juice, brown sugar, chili garlic sauce and ginger in a small bowl. Whisk in 2-3 tablespoons coconut milk until desired consistency is reached; set aside.
  2. In a medium bowl, combine coconut milk, soy sauce, turmeric, ginger, and brown sugar.
  3. In a gallon size Ziploc bag or large bowl, combine chicken and coconut milk mixture; marinate for at least 2 hours to overnight, turning the bag occasionally.
  4. Drain the chicken from the marinade, discarding the marinade.
  5. Preheat grill to medium high heat. Thread chicken onto skewers. Brush with canola oil.
  6. Add skewers to grill, and cook, turning occasionally, until the chicken is completely cooked through, reaching an internal temperature of 165 degrees F, about 6 minutes each side minutes.
  7. Serve immediately with peanut sauce.

Buttermilk Biscuits

Buttermilk Biscuits

This is so easy to make! Perfect for breakfast with eggs or just drizzled with butter, honey, jam or apple butter! They freeze well. Adapted from Sally’s baking addiction blog.

Ingredients

  • 2 and 1/2 cups all-purpose flour, plus extra for hands and work surface
  • 2 Tablespoons aluminum free baking powder 
  • 1 teaspoon salt
  • 1/2 cup (1 stick) unsalted butter, cubed and very cold
  • 1 cup + 2 Tablespoons cold buttermilk, divided
  • 2 teaspoons honey
  • optional honey butter topping: 2 Tablespoons melted butter mixed with 1 Tablespoon honey

Instructions

  1. Preheat oven to 425°F.
  2. Place the flour, baking powder, and salt together in a large bowl or in a large food processor. Whisk or pulse until combined. Add the cubed butter and cut into the dry ingredients with a pastry cutter or by pulsing several times in the processor. Cut/pulse until coarse crumbs form. If you used a food processor, pour the mixture into a large bowl.
  3. Make a well in the center of the mixture. Pour 1 cup buttermilk and drizzle honey on top. Fold everything together with a large spoon or rubber spatula until it begins to come together. Do not overwork the dough. The dough will be shaggy and crumbly with some wet spots.
  4. Pour the dough and any dough crumbles onto a floured work surface and gently bring together with generously floured hands. The dough will become sticky as you bring it together. Have extra flour nearby and use it often to flour your hands and work surface in this step. Using floured hands or a floured rolling pin, flatten into a 3/4 inch thick rectangle as best you can. Fold one side into the center, then the other side. Turn the dough horizontally. Gently flatten into a 3/4 inch thick rectangle again. Repeat the folding again. Turn the dough horizontally one more time. Gently flatten into a 3/4 inch thick rectangle. Repeat the folding one last time. Flatten into the final 3/4 inch thick rectangle.
  5. Cut into 2.75 or 3-inch circles with a biscuit cutter. (Tip: Do not twist the biscuit cutter when pressing down into the dough– this seals off the edges of the biscuit which prevents them from fully rising.) Re-roll scraps until all the dough is used. You should have about 8-10 biscuits. Arrange in a 10-inch cast iron skillet (see note) or close together on a parchment paper-lined baking sheet. Make sure the biscuits are touching.
  6. Brush the tops with remaining buttermilk. Bake for 15-20 minutes or until tops are golden brown.
  7. Remove from the oven, brush warm tops with optional honey butter, and enjoy warm.
  8. Cover leftovers tightly and store at room temperature or in the refrigerator for up to 5 days.
Breakfast Casserole

Breakfast Casserole

This is a mix of several recipes. Some call for adding hash browns. I went for straight up eggs, cheese and ham. This is perfect for company, comes together quickly and even is good warmed up the next day.

Ingredients

  • Salt and pepper, to taste
  • 12 large eggs
  • 1 1/2 cups whole milk
  • 1 cup shredded sharp cheddar cheese
  • 1 cup shredded swiss cheese or gruyere
  • 8 oz. diced ham, break up any clumps

Directions

  • Preheat oven to 350 degrees. Spray a 13 by 9-inch baking dish with non-stick cooking spray.
  • Add eggs to a large mixing bowl. Break yolks and stir together with a fork until blended.
  • Stir in half and half, cheddar, Swiss, ham, green onions, parsley and season with salt and pepper to taste.
  • Pour mixture evenly over hash brown layer then spread out with a spatula to even out top as needed.
  • Bake in preheated oven until center is just set, about 35 minutes. Check center with a knife and it is done when knife comes out clean. I use a convection oven so cooking times vary. Let cool about 5 minutes before slicing and serving.

Switch up the cheese. Smooth melting cheeses like Monterey jack, muenster, provolone, colby, and pepper jack work best. 

Swap ham for cooked bacon or even diced Canadian bacon.

Add veggies like sautéed mushrooms, artichokes or bell peppers.

Make it vegetarian and swap with meatless sausage, like beyond beef.

Try it with cooked breakfast sausage or cooked Italian sausage instead of ham.

Use other herbs.

Serve it topped with sliced or diced avocado and/or tomatoes.

Peanut Butter Pie

Peanut Butter Pie

My husband loves peanut butter (and so do I). We had guests coming last weekend and I knew they liked peanut butter. Right now it is like surface of the sun hot out there so I thought an after dinner treat of cool, sweet peanut butter pie might just be the ticket! This was so cool, smooth and delicious! This was adapted from a Southern Living recipe.

for the crust

  • 16 whole chocolate graham crackers (to make 2 cups crumbs)
  • 7 Tbsp unsalted butter, melted

for the peanut butter filling

  • 8 ounces cream cheese, room temperature (I used low fat)
  • 1 cup creamy peanut butter
  • 3/4 cup powdered sugar
  • 1/4 tsp salt (optional)
  • 2 tsp vanilla extract
  • 1 cup whipping cream

Instructions

  • Preheat the oven to 350F.
  • In a food processor, blend the graham crackers until finely ground. 
  • Transfer the crumbs to a bowl and mix with the melted butter until uniform and clumpy.
  • Add the crumb mixture to an 9-inch deep dish pie plate. Press them into the bottom and up the sides to form a crust. I like to use a cup measure with a flat bottom to do this.
  • Bake the pie crust for 10 minutes, then remove and allow to cool completely.
  • To make the peanut butter filling, wipe out your food processor and add the cream cheese, peanut butter, powdered sugar, salt, and vanilla extract to the bowl. 
  • Process until uniform.
  • In a separate bowl, whip the heavy cream until stiff peaks form. 
  • Add the peanut butter mixture, starting with a little bit, to the whipped cream and fold it together until there are no streaks.
  • Pour the peanut butter filling into the cooled pie crust, and chill in the refrigerator for at least 3 hours, or up to overnight.
  • Sprinkle with mini peanut butter cups cut in half

Chilled Berry Soup

Chilled Berry Soup

This is just so refreshing on a hot summer day. Great as a first course with grilled meat. I have made this over the years and it never turns out quite the same, but it is always good.. I used a mix of frozen strawberries, blackberries, Blueberries and raspberries for this version but fresh is great if you have ripe fruit. Adapted from an Old James McNair cookbook. I love his cookbooks.

Ingredients

6 cups stemmed ripe berries such as strawberries, raspberries, or blackberries (one kind or assortment), or frozen mixed berries
1 cup orange juice or apple juice
½ cup sugar, or to taste
2 cups Asti Spumante, Champagne, or other sparkling wine

Directions

  • Working in batches, if necessary, combine the berries and juices in a food processor or blender and puree until fairly smooth.
  • Transfer to a glass ceramic bowl and stir in the sugar and sparkling wine. Cover and refrigerate until chilled, at least 2 hours or as long as overnight.
  • Ladle into chilled bowls


Serves 6 as a soup course or dessert.

Grilled Skirt Steak Skewers

Grilled Skirt Steak Skewers

Made this for company with brioche rolls and grilled vegetable orzo. Both recipes on this blog. I recommend using skirt steak instead of flank steak. Skirt steak is much fattier than flank steak, and more forgiving when you cook it! I adapted this from Simplyrecipies.com. I use metal skewers but if using bamboo or wooden skewers, place them in a dish and cover with water to soak. I had company so did not take many photos. This was also great cold the next day in a salad with blue cheese.

Ingredients

1 1/2 to 2 pounds skirt steak, trimmed of membranes and silver skin

Marinade:

1/3 cup extra virgin olive oil

1/3 cup soy sauce

1/4 cup honey

2 cloves garlic, minced

1 tablespoon red wine vinegar

1-inch piece of ginger, sliced

1/2 teaspoon red chili pepper flakes

1/2 teaspoon freshly ground black pepper

Directions

  1. Make marinade: Place all marinade ingredients in a small bowl and stir to combine. Set aside.
  2. Cut skirt steak in strips across the grain: Lay the skirt steak horizontally out on a cutting board. Notice the grain of the steak that goes up and down. Cut the steak into segments (along the grain of the meat), about 6 to 8-inches long.
  3. Then, with each segment, turn the segment so the grain of the meat runs in a line from left to right, and cut thin strips (1/4 to 1/3-inch thick, 1 1/2-inch wide, 6 to 8-inches long), angling the knife, cutting across the grain.
  4. Preheat grill, thread skewers: 
  5. Preheat your grill, whether charcoal or gas, for high-direct heat. While the grill is preheating, thread the marinated skirt steak strips onto your skewers.
  6. Grill over high direct heat: When ready to grill, brush the grill grates with olive oil (helps to fold a paper towel, soak the towel in olive oil, and use long handled tongs to hold the soaked paper towel and spread oil on the grates).You know your grill is hot enough when you can only stand to hold your hand 1 inch above the grill grates for one second.Working in batches if necessary, lay the skirt steak skewers on the hot grill grates, perpendicular to the grates. Grill for 3 to 4 minutes per side, until cooked through.Remove from grill and let sit for a few minutes before serving.