Rosemary Brioche Rolls

Rosemary Brioche Rolls

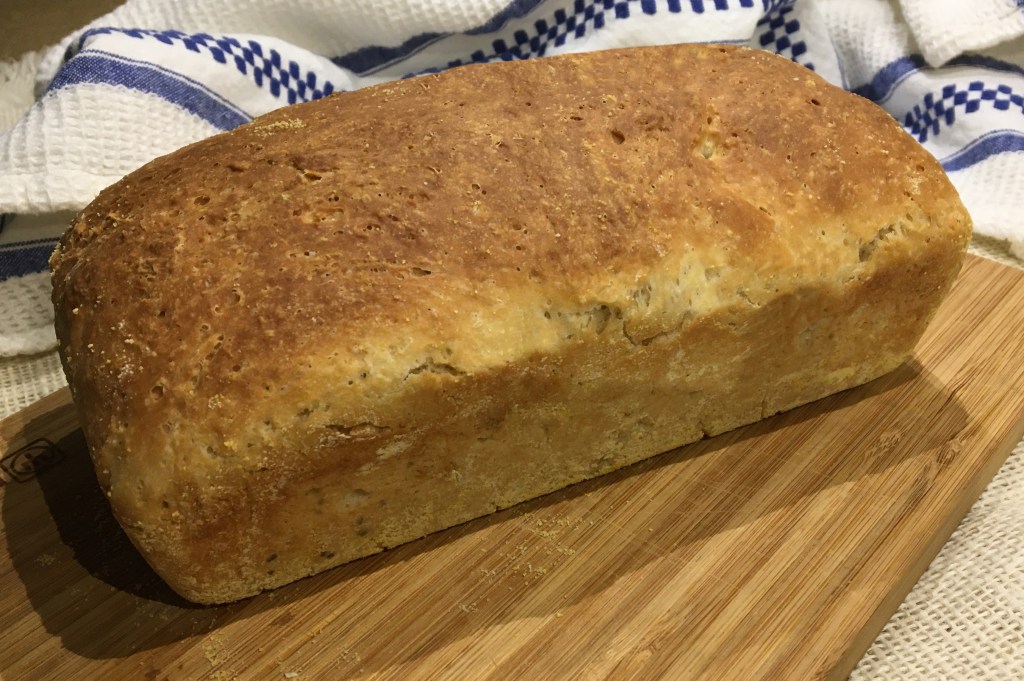
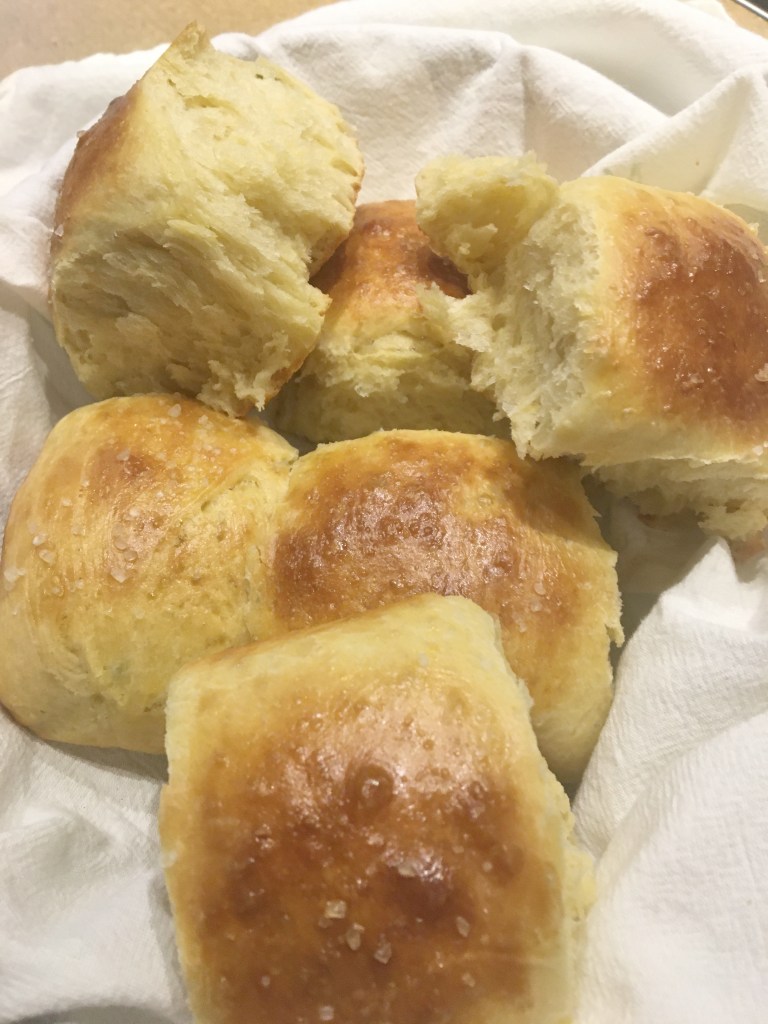
These are WONDERFUL. The dough is very soft and handling can be a bit tricky but I found this to be an easy recipe. The next time I make these (and there will be a next time) I might add a bit more rosemary. Adapted from Countryliving.com.

INGREDIENTS

1 tbsp. active dry yeast
3 1/2 c. all-purpose flour
1/4 c. sugar
1 tsp. salt
5 large eggs
1 stick unsalted butter
1 tbsp. fresh rosemary
1 tbsp. Freshly ground pepper
2 tbsp. Sea Salt

DIRECTIONS

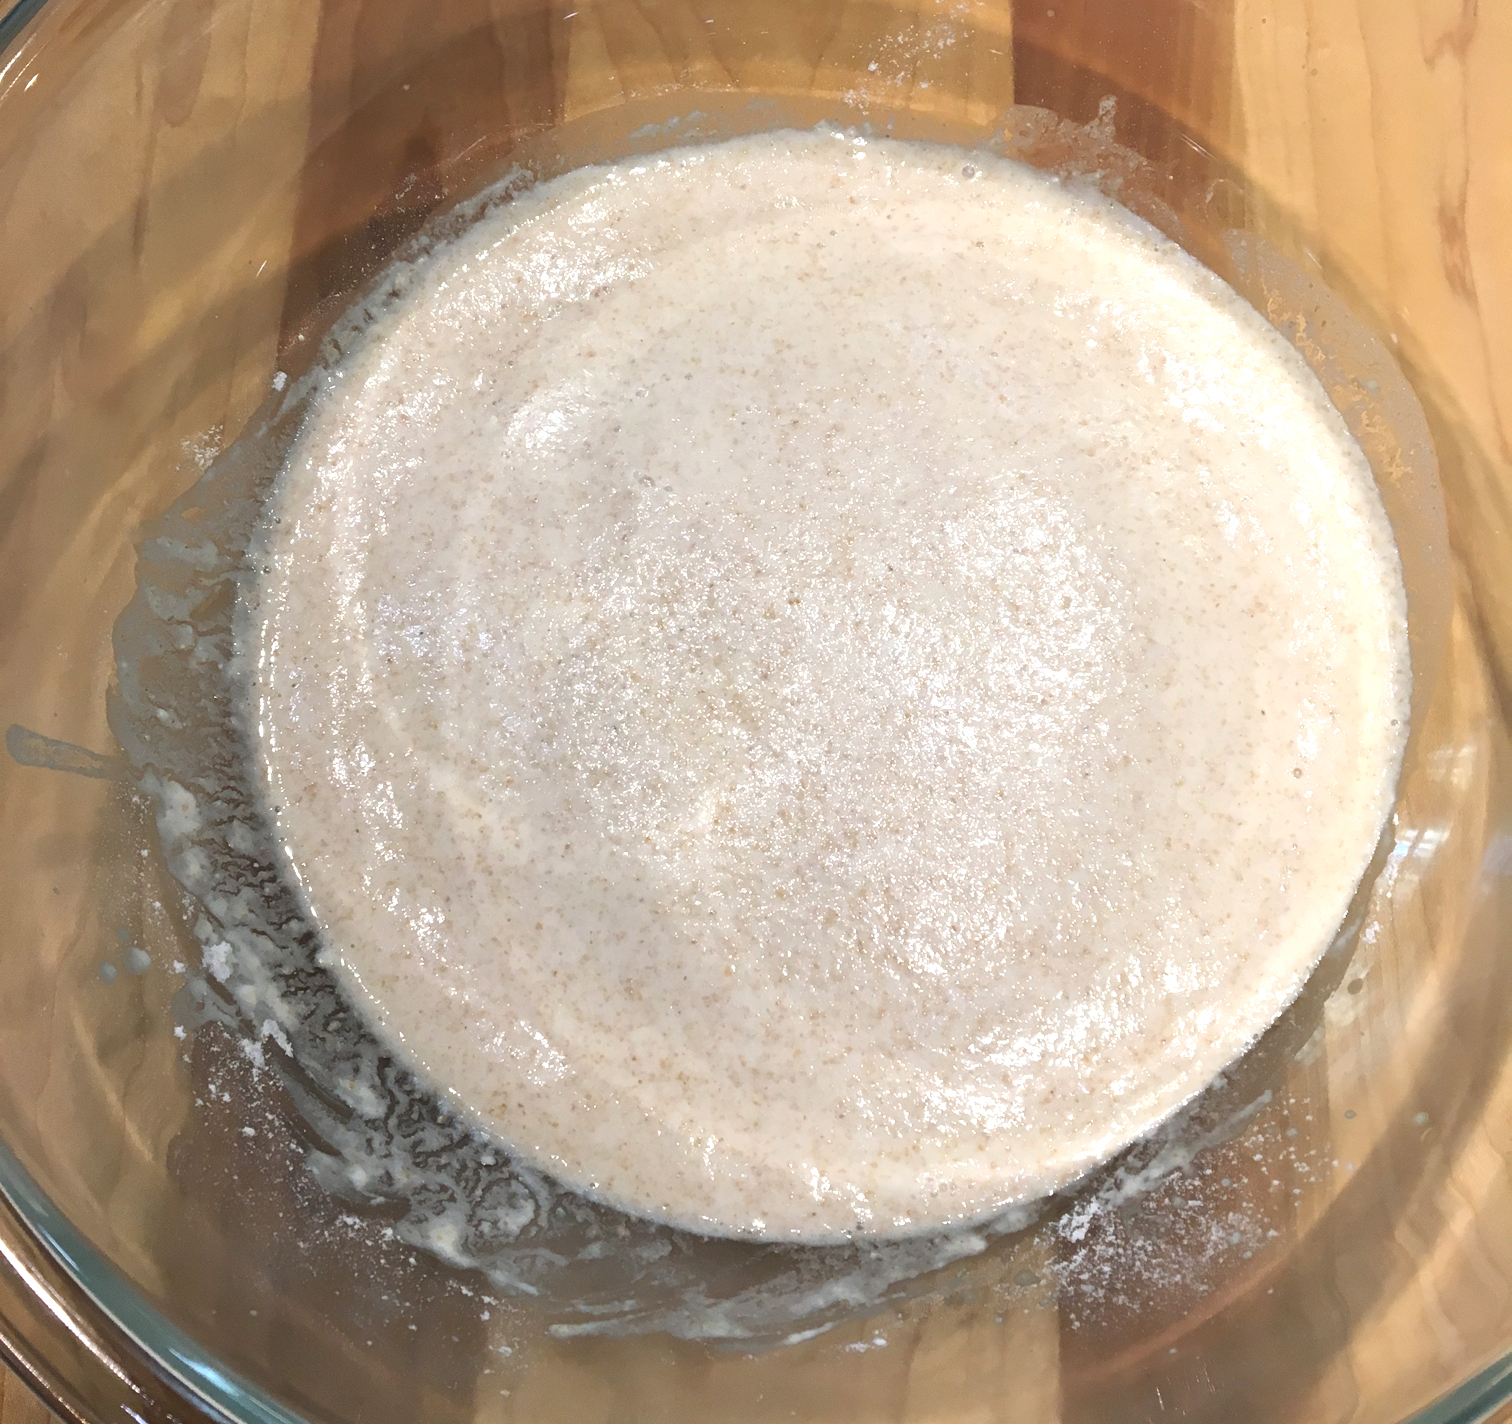
  1. In a small bowl, whisk together the yeast and 1/2 cup lukewarm (90-degree to 110-degree F) water. Let it sit until the yeast becomes active and bubbly, about 10 minutes.
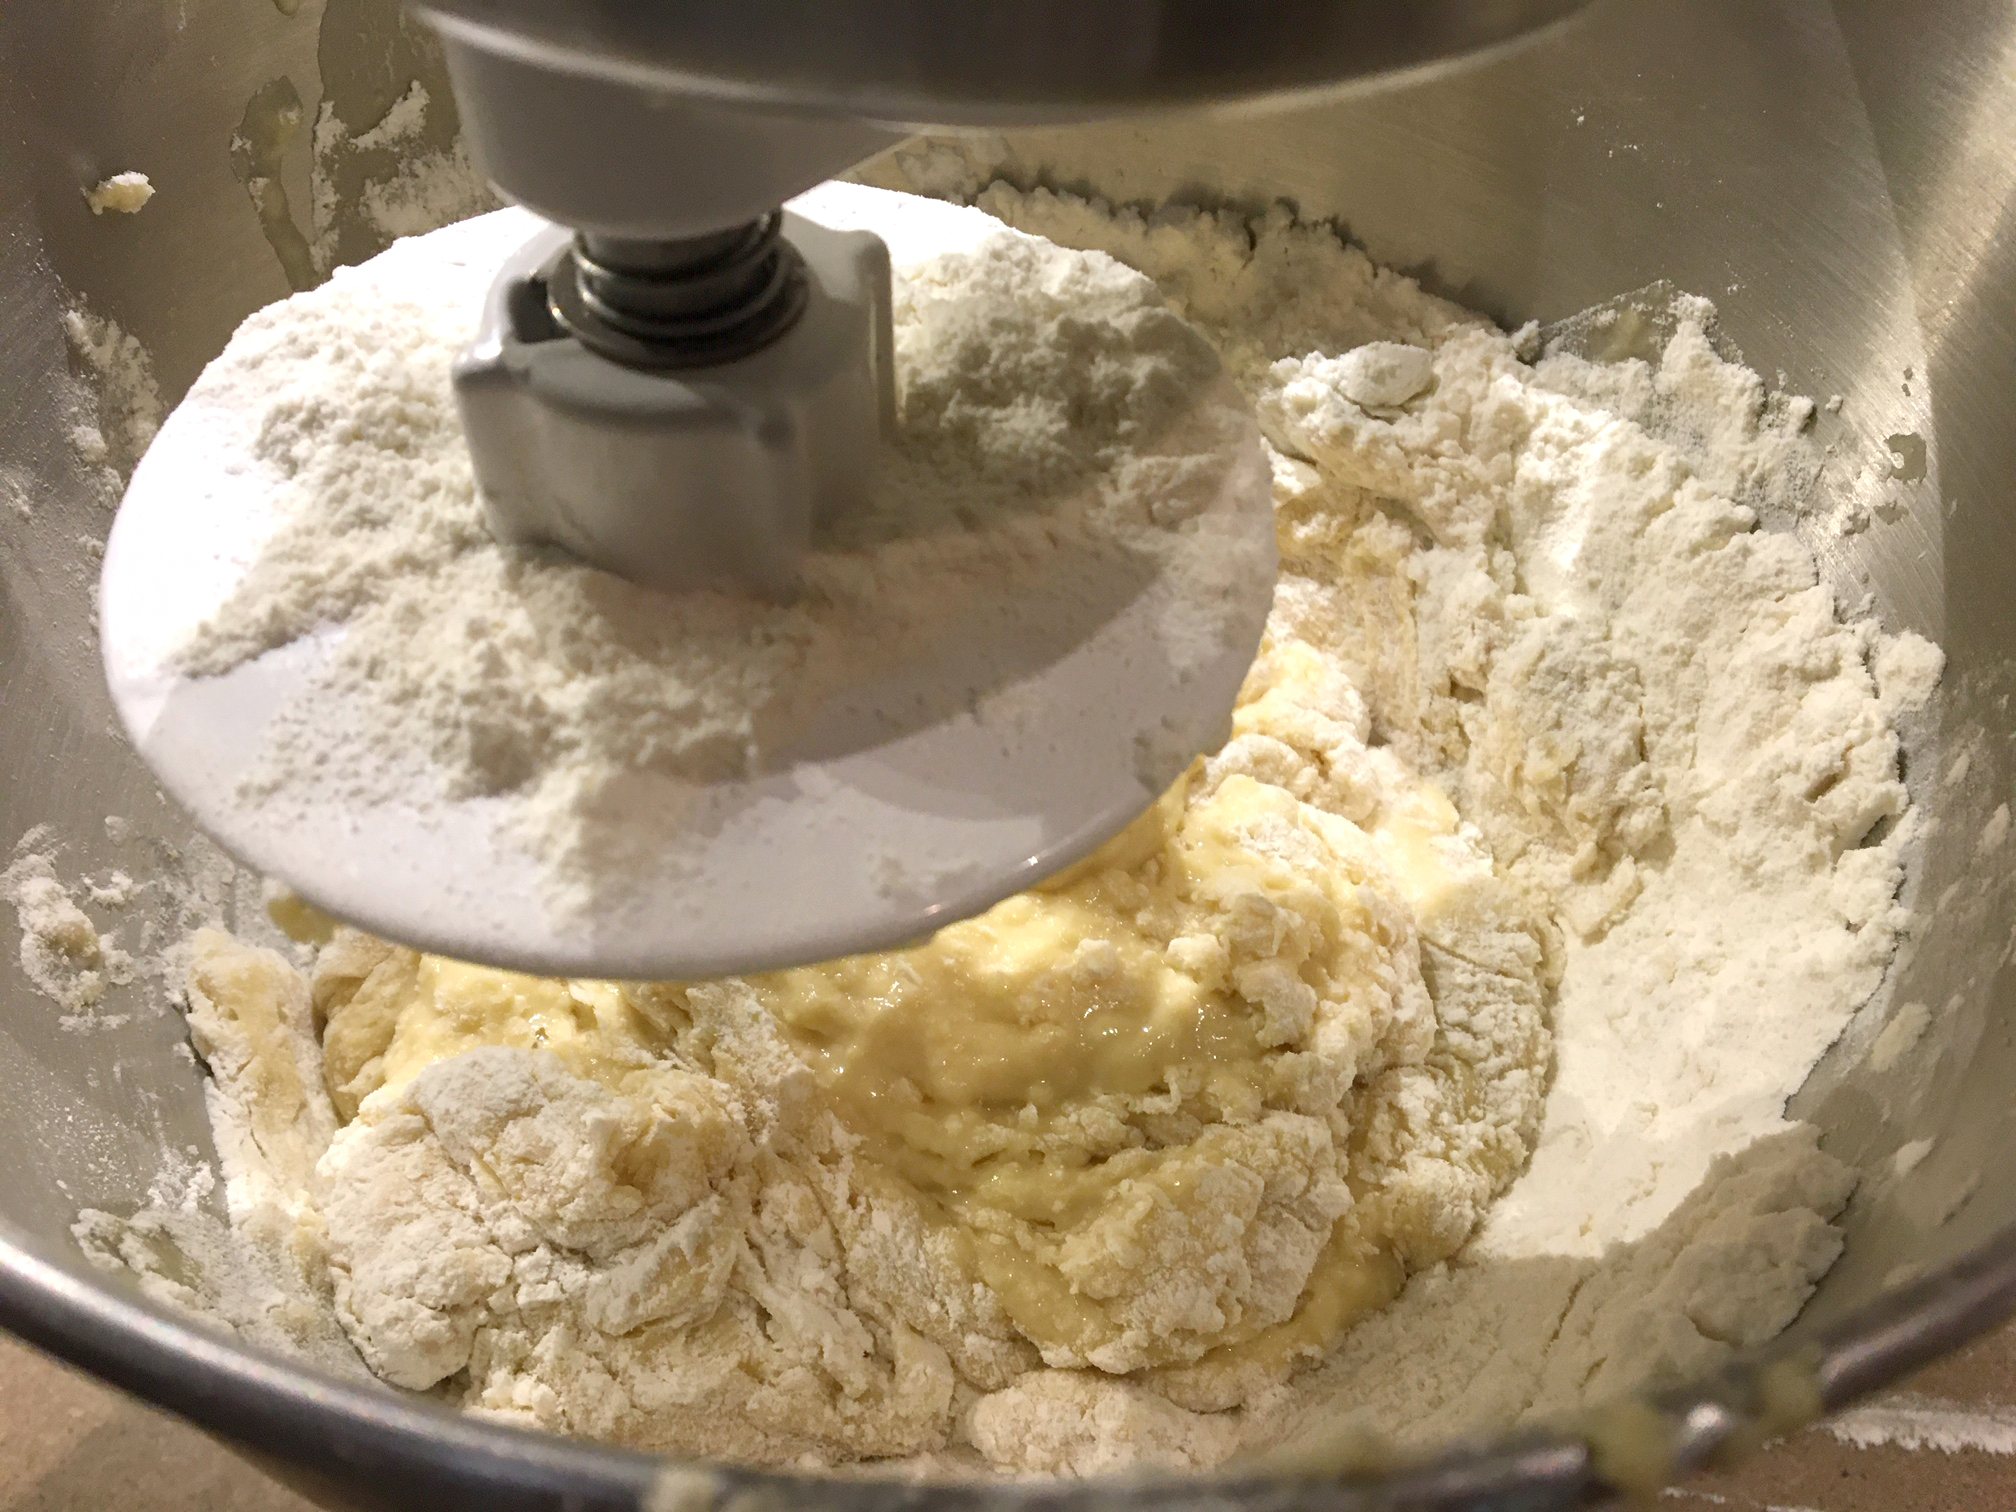
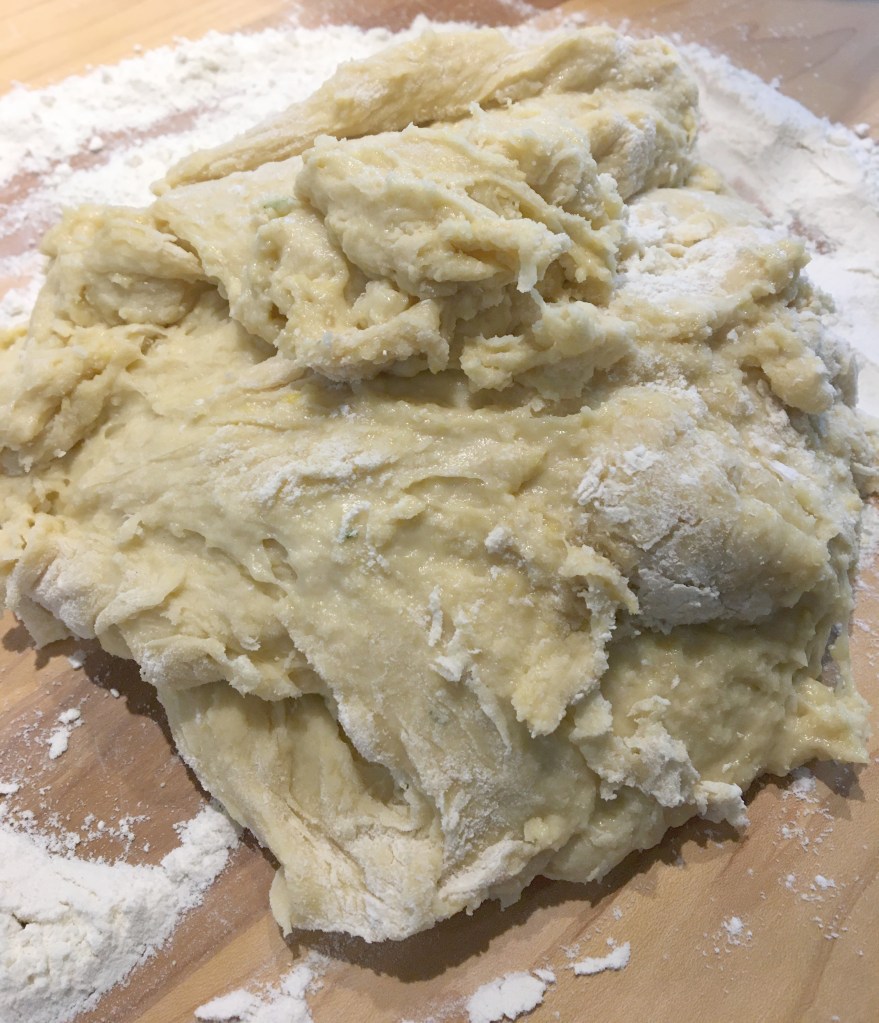
  2. Combine the flour, sugar, and salt in the bowl of a stand mixer (or in a large bowl). Add the yeast mixture and stir well to combine. Add 4 eggs, one at a time, mixing well with each addition. Add the butter, rosemary, and pepper, and stir until just combined.
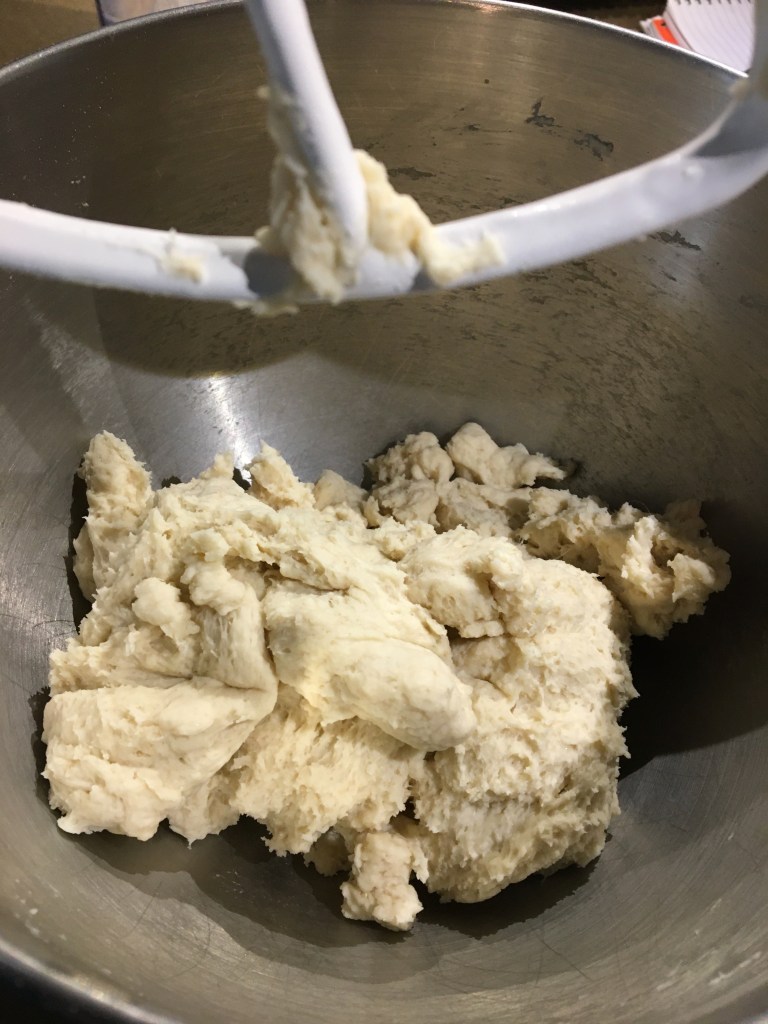
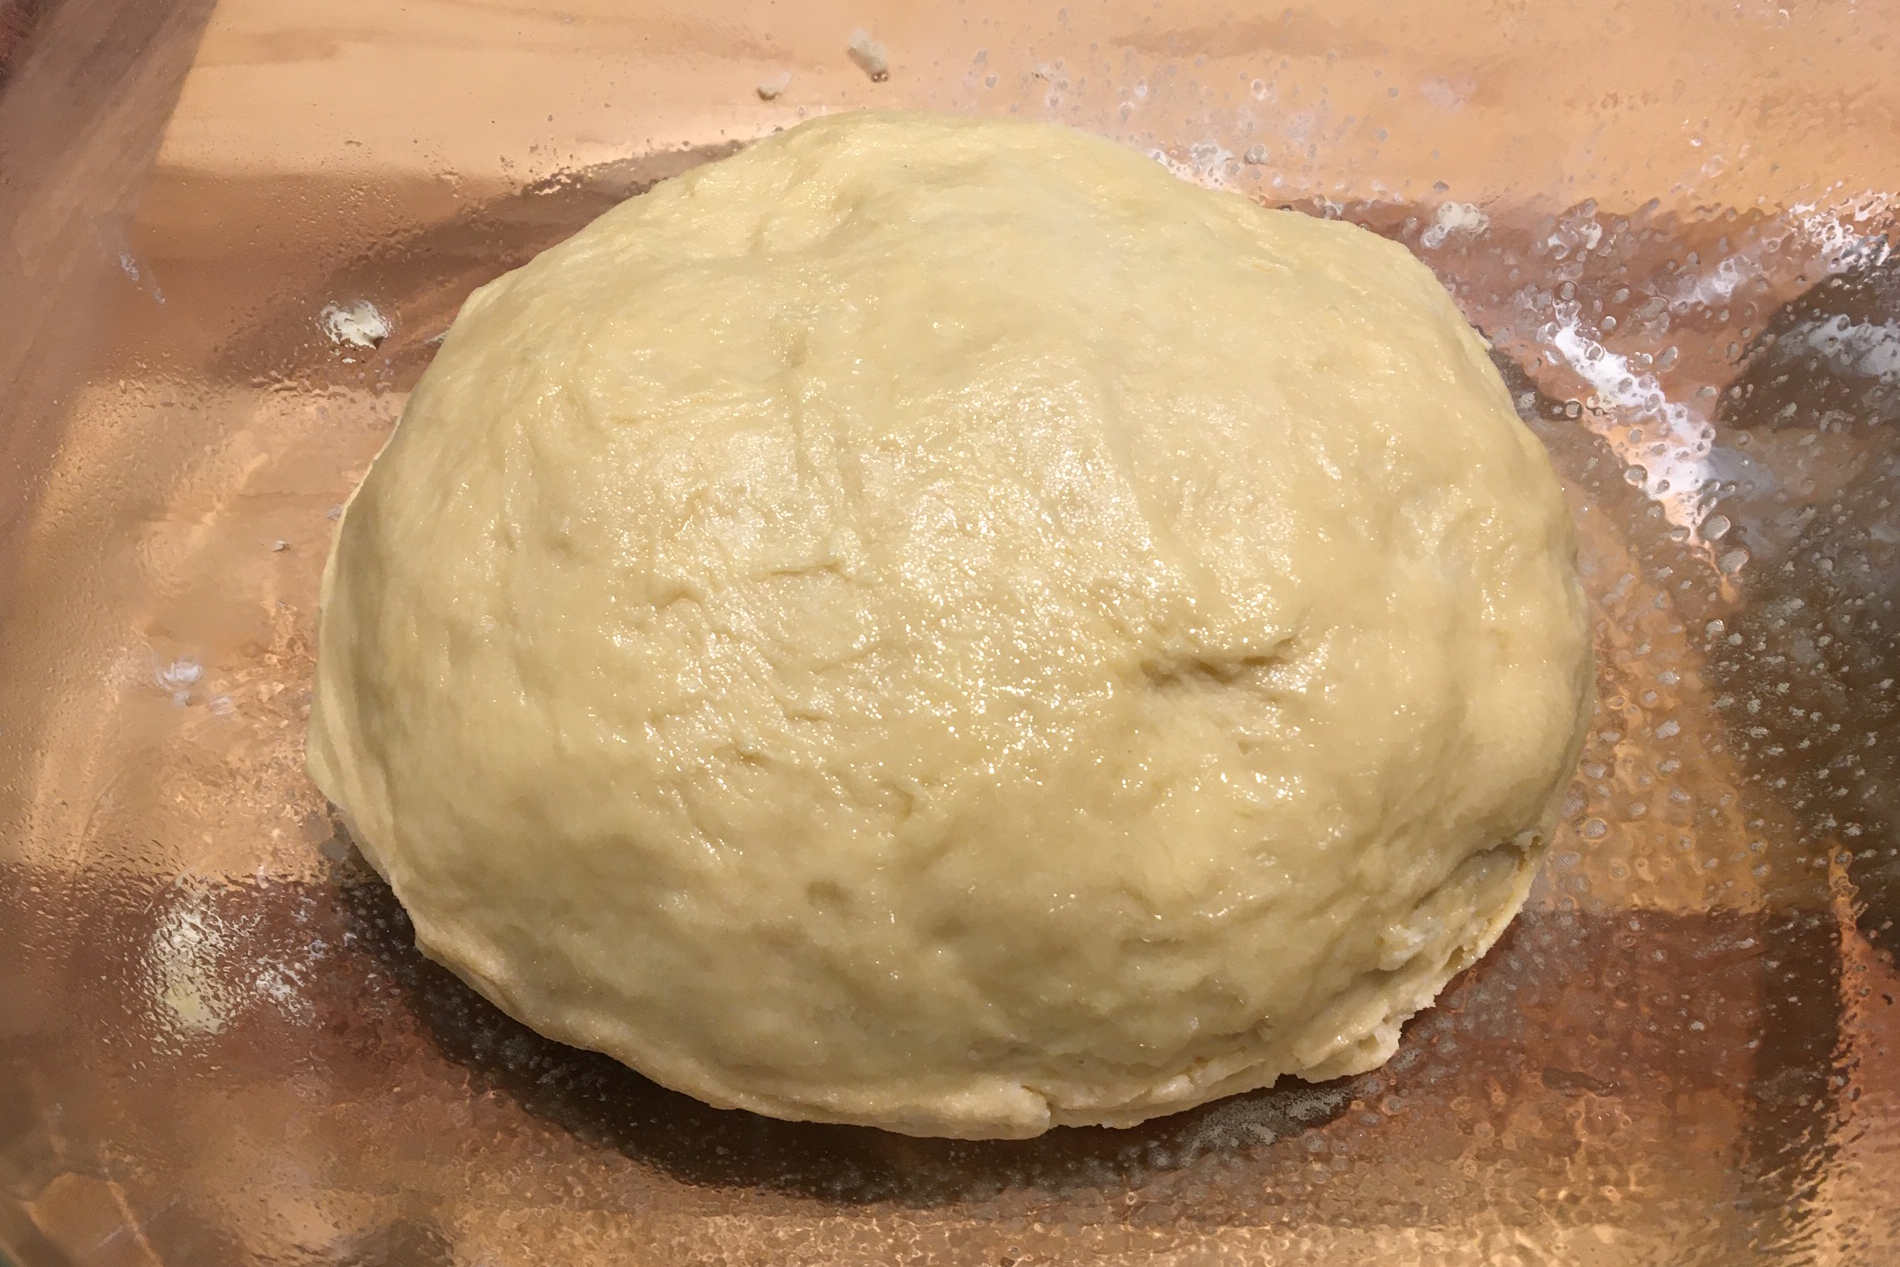
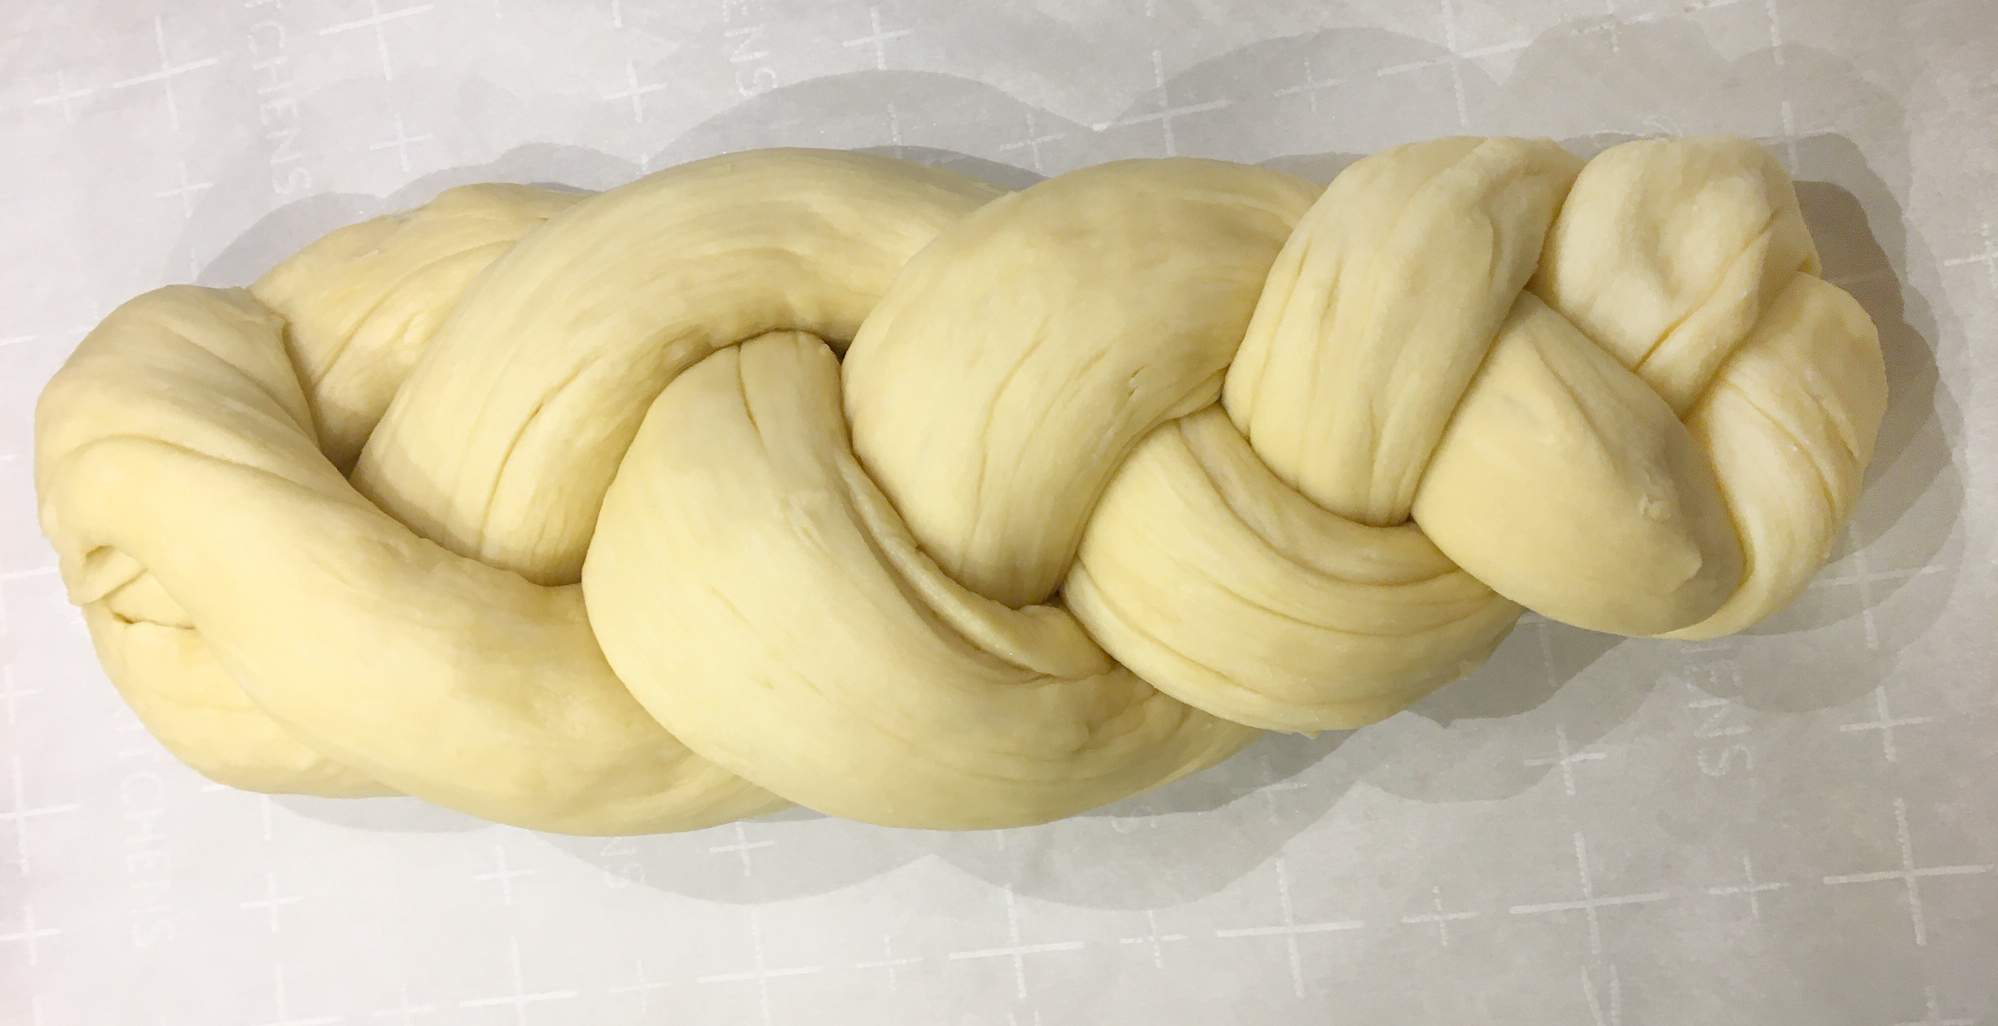
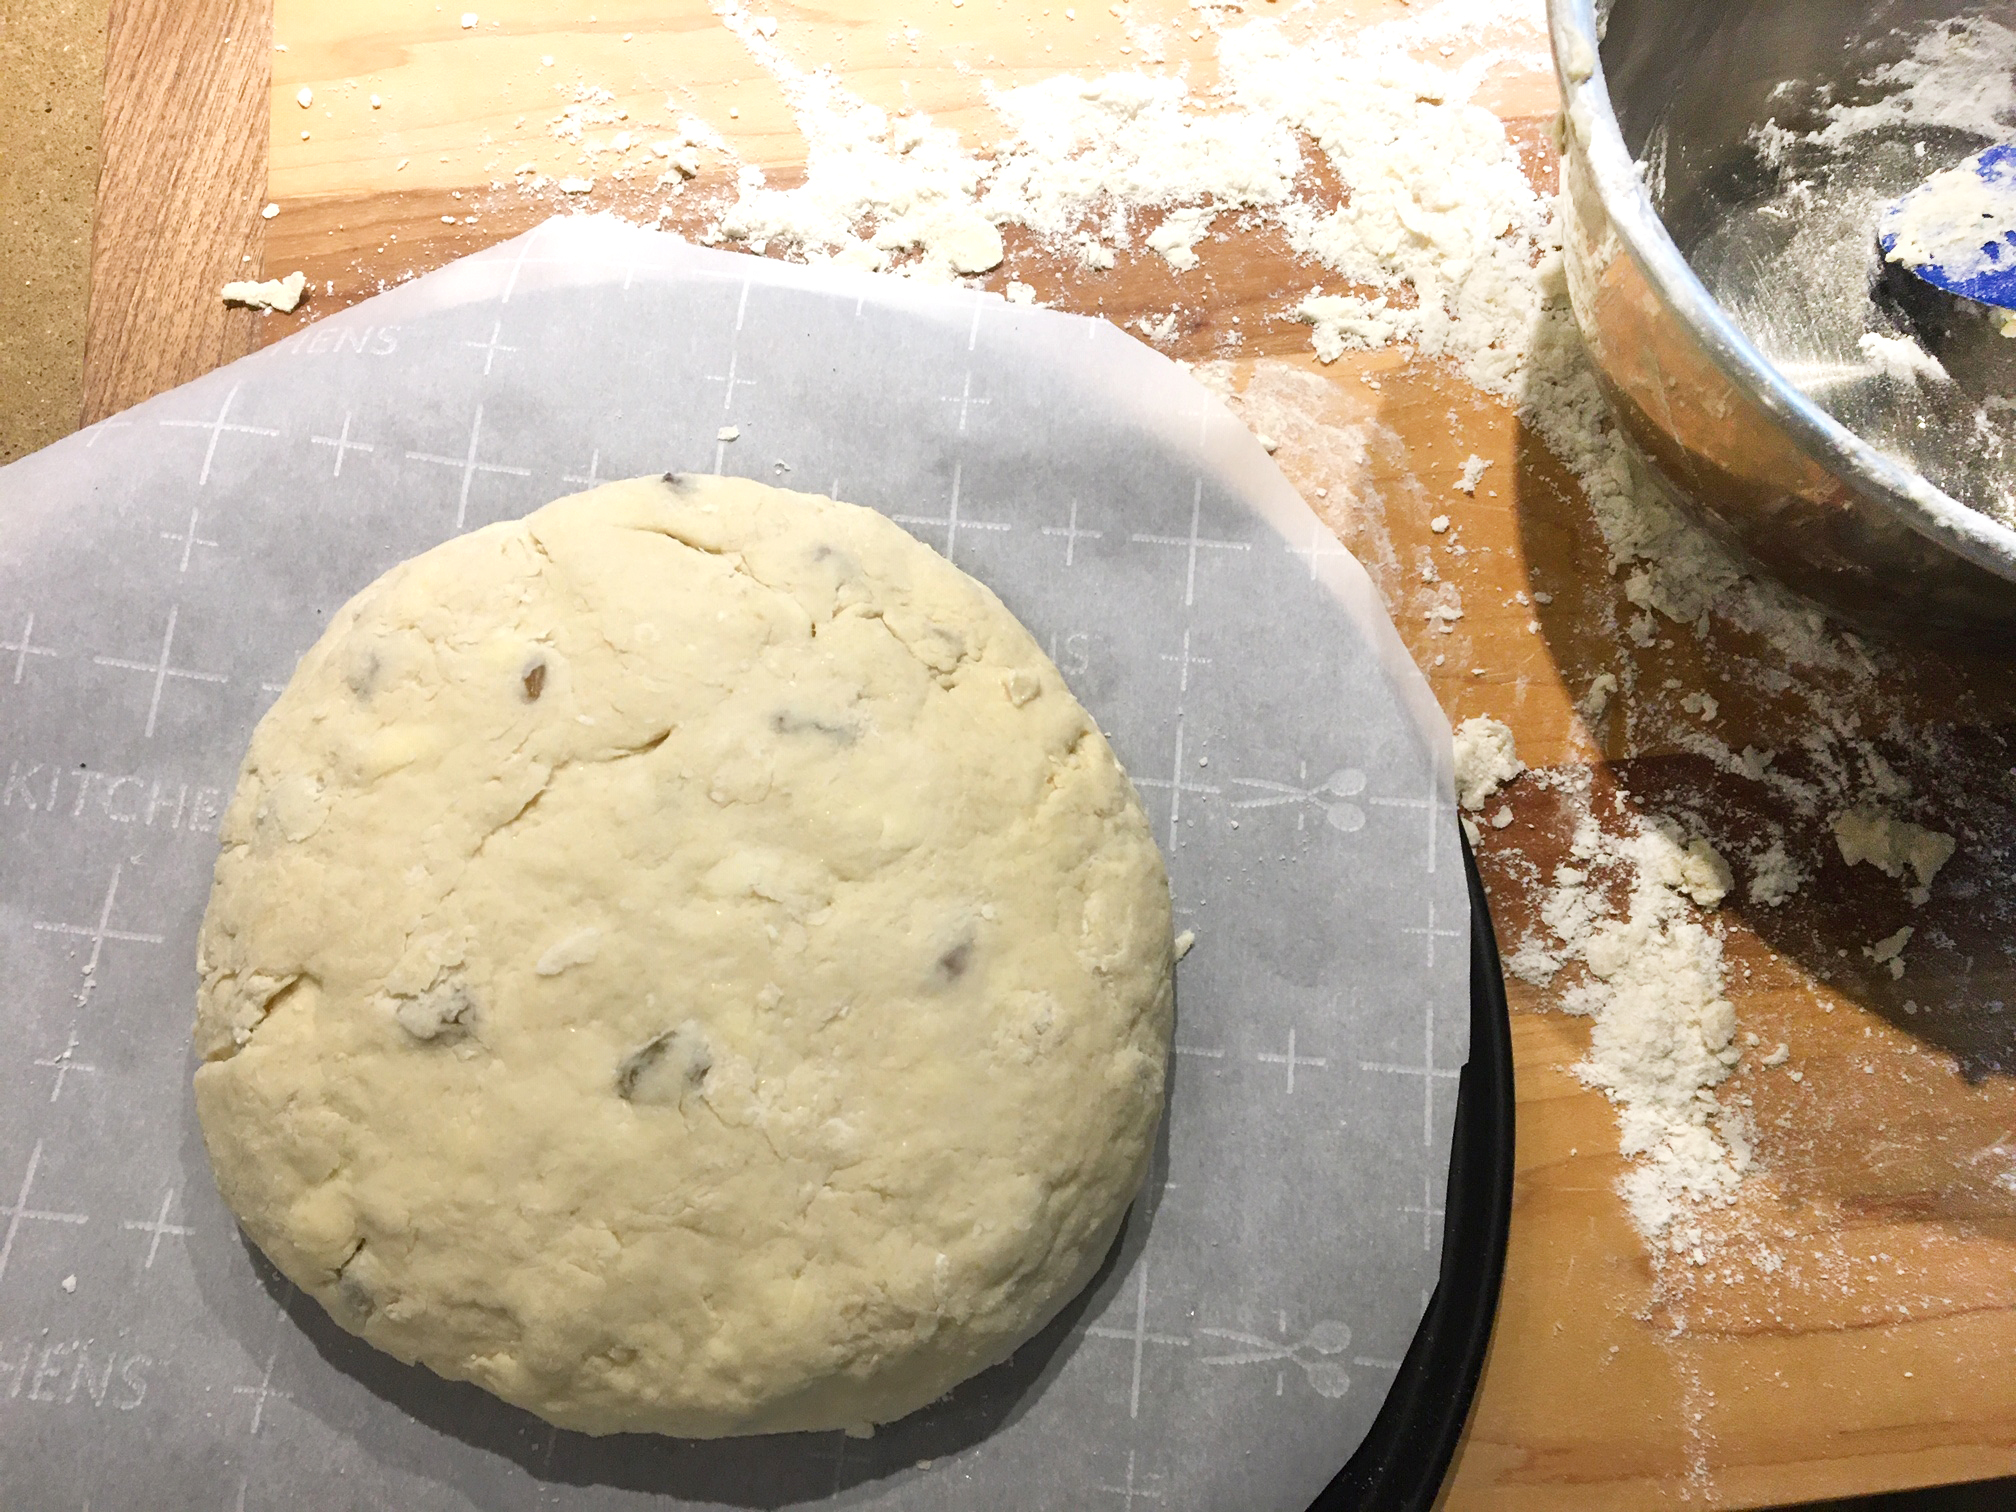
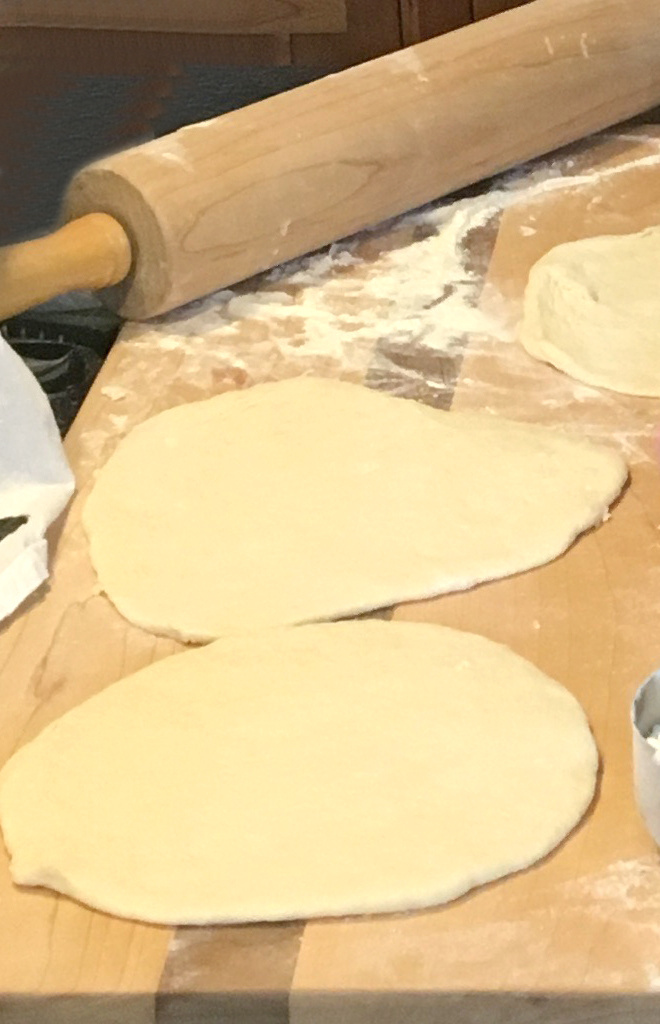
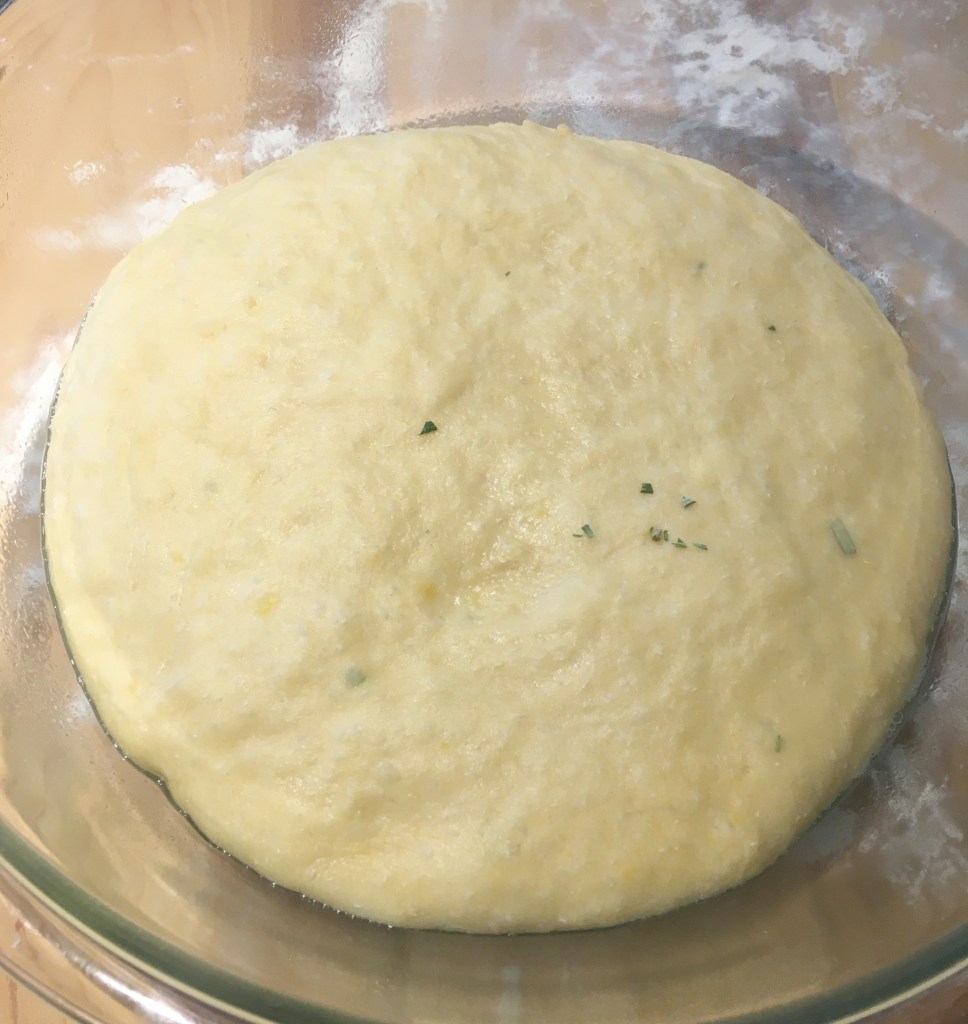
  3. Transfer the dough to a lightly floured surface and knead with the heels of your hands until a smooth, soft dough comes together. Place the dough in a large, lightly greased bowl and cover loosely with plastic wrap or a kitchen towel. Set it in a warm place to rise until the dough is doubled in size, about 1 hour.
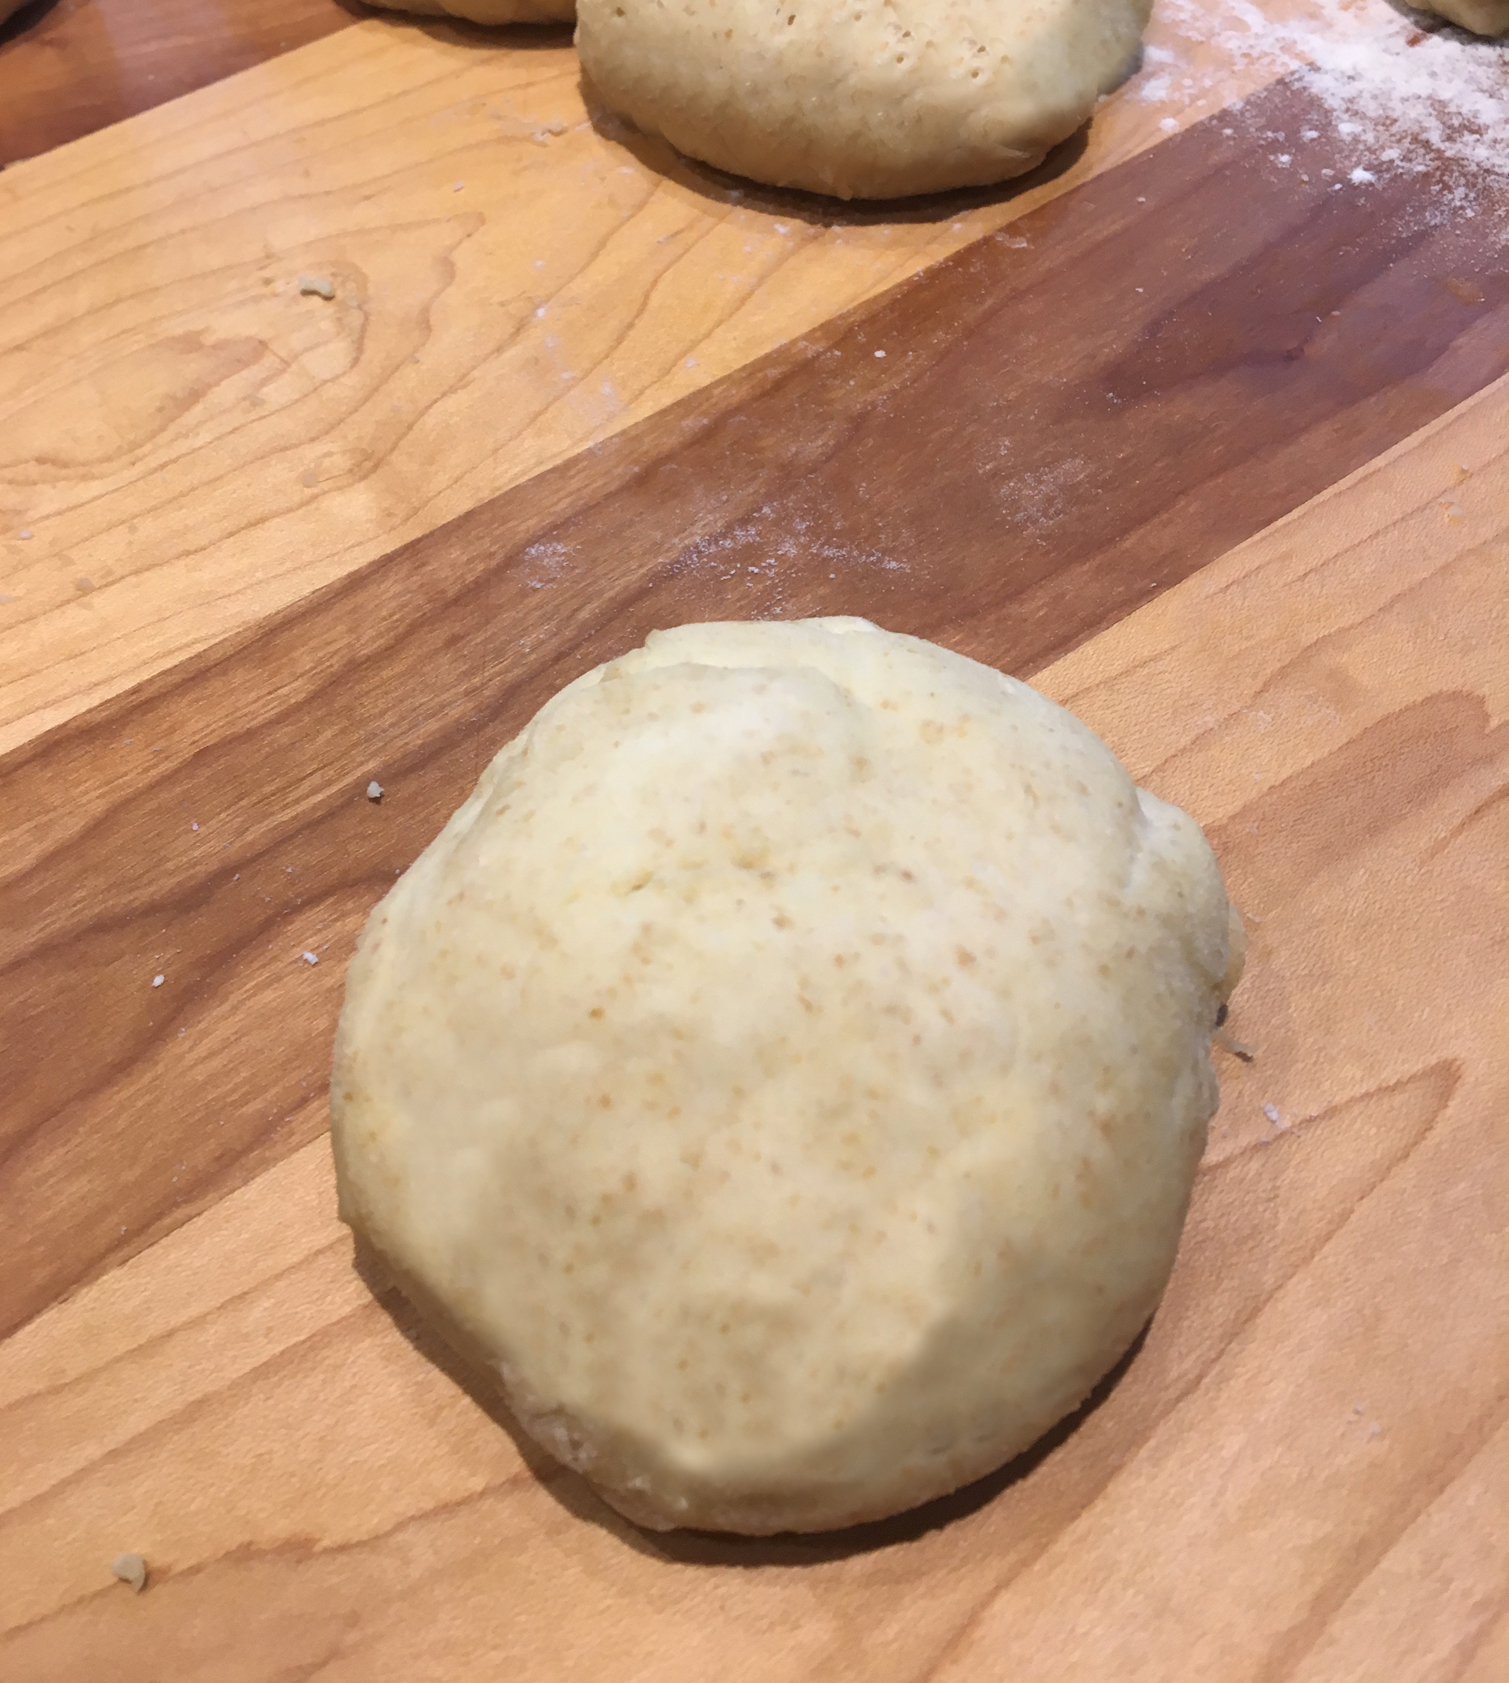
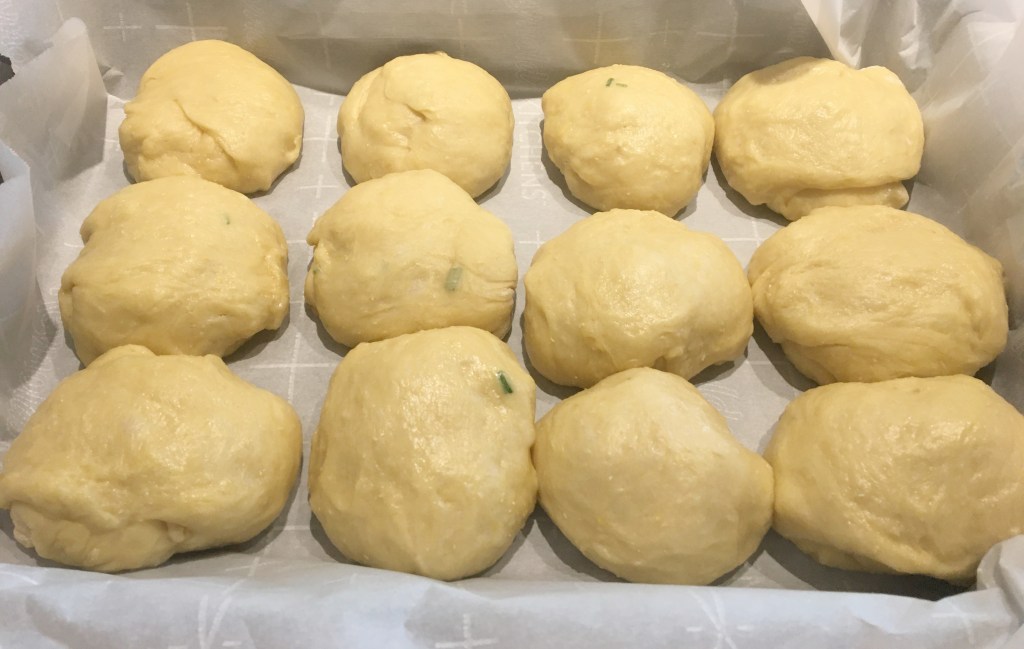
  4. Prepare a baking pan by lining it with parchment; set aside. Divide the dough into 12 equal pieces. Roll each piece into a ball and place it on the prepared pan, spacing the rolls out equally. Loosely cover the rolls and let them rise until doubled in size, 30 to 45 minutes.
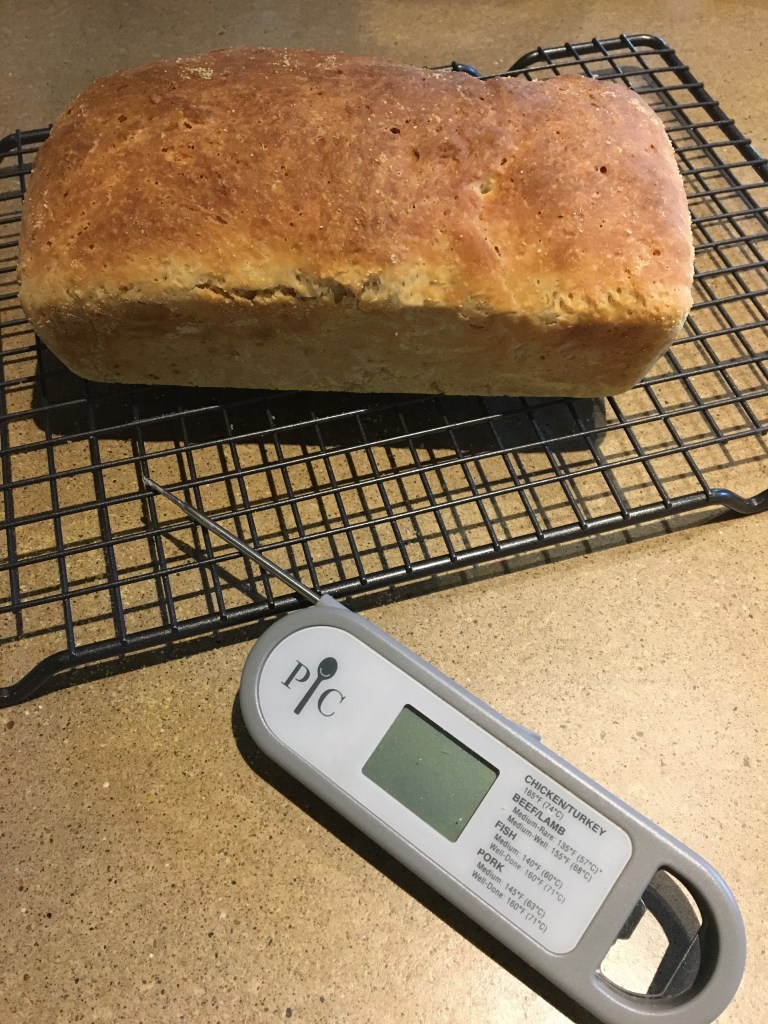
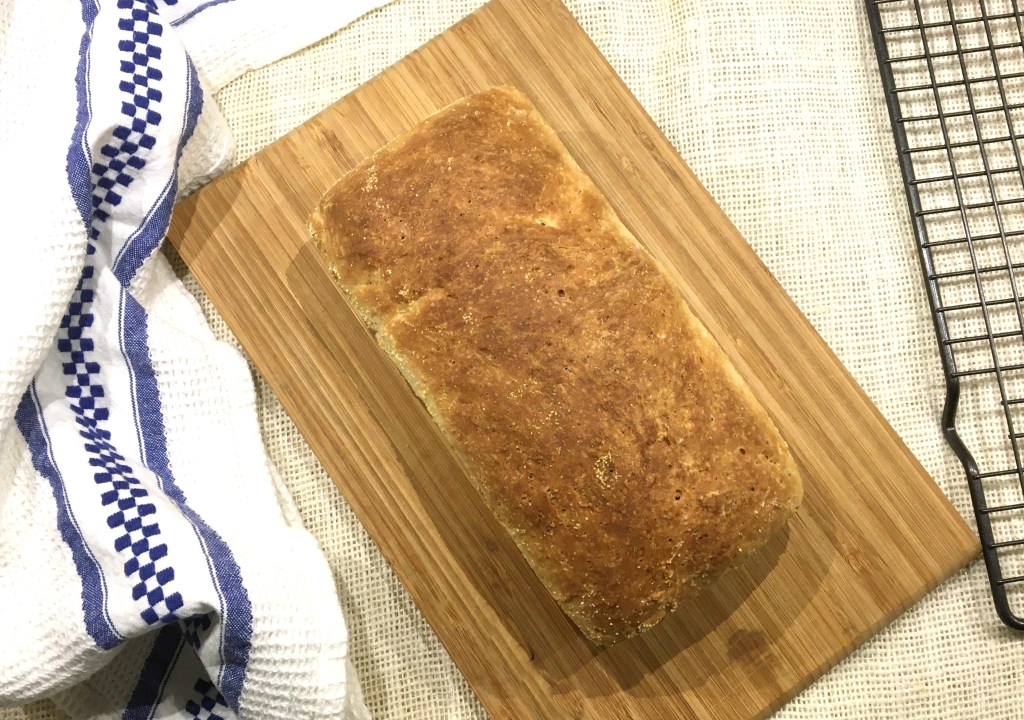
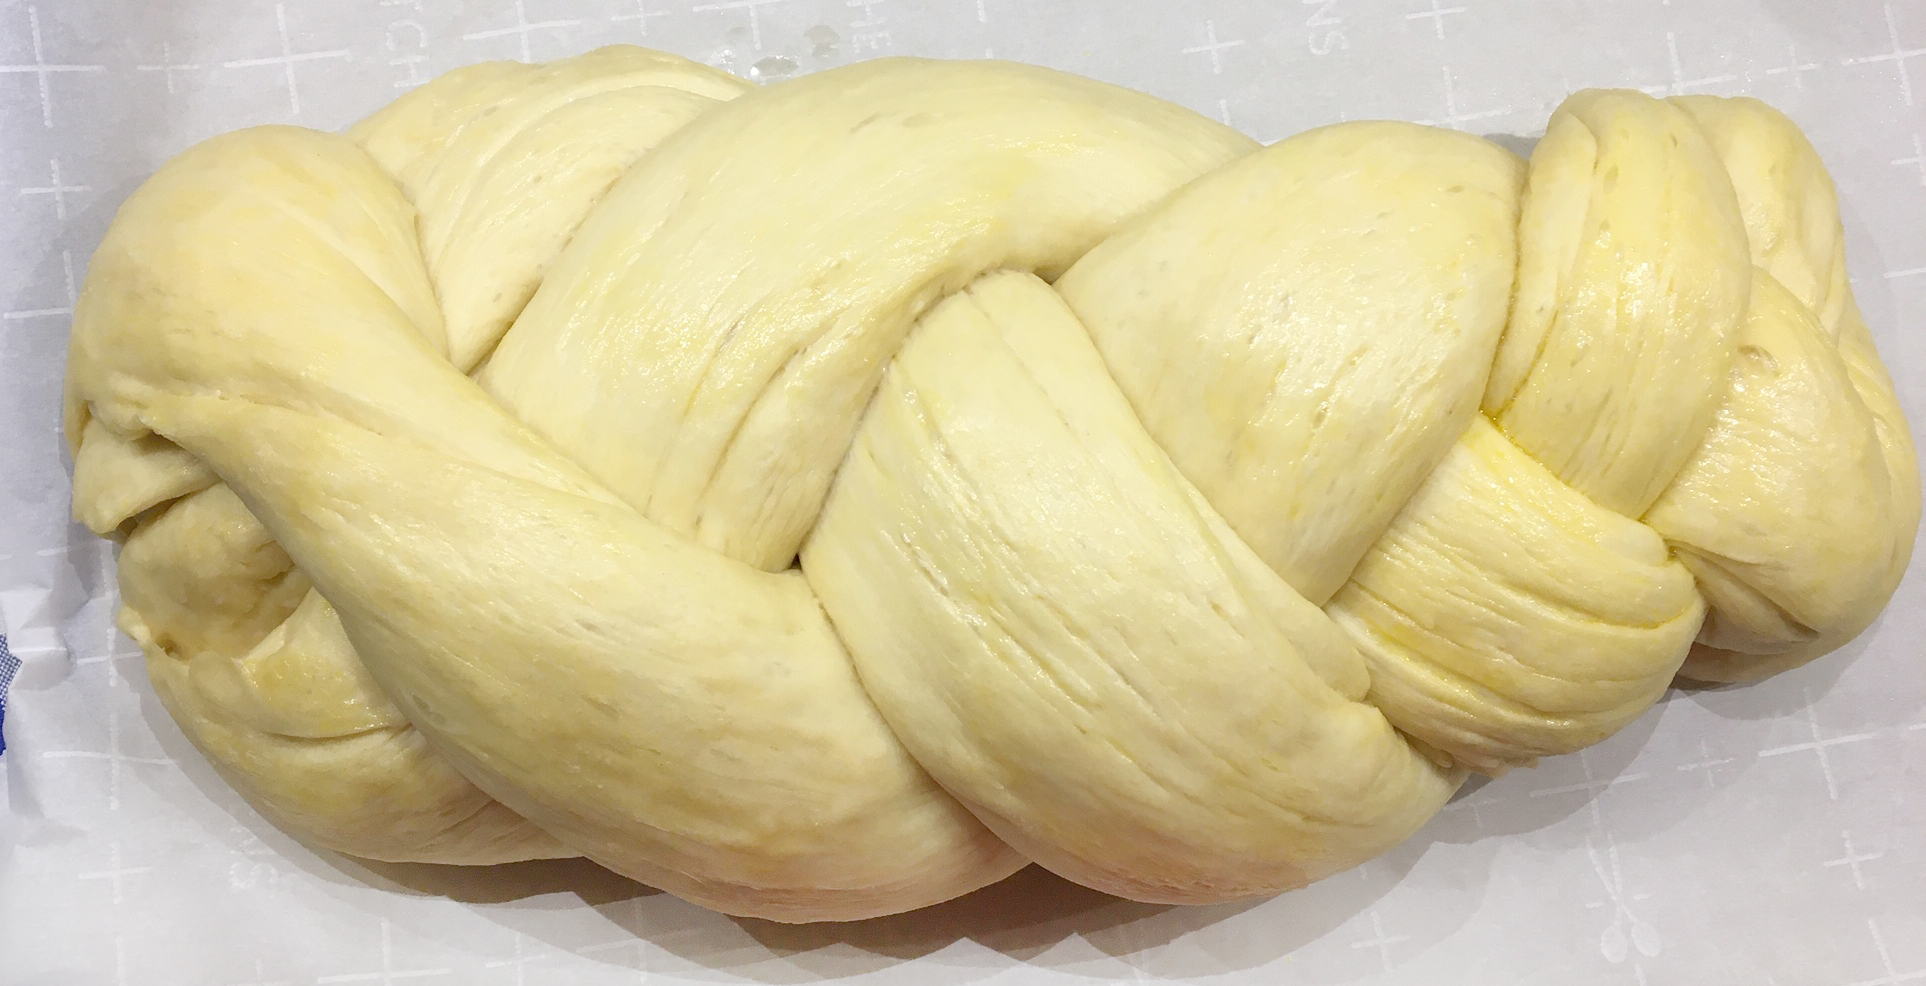
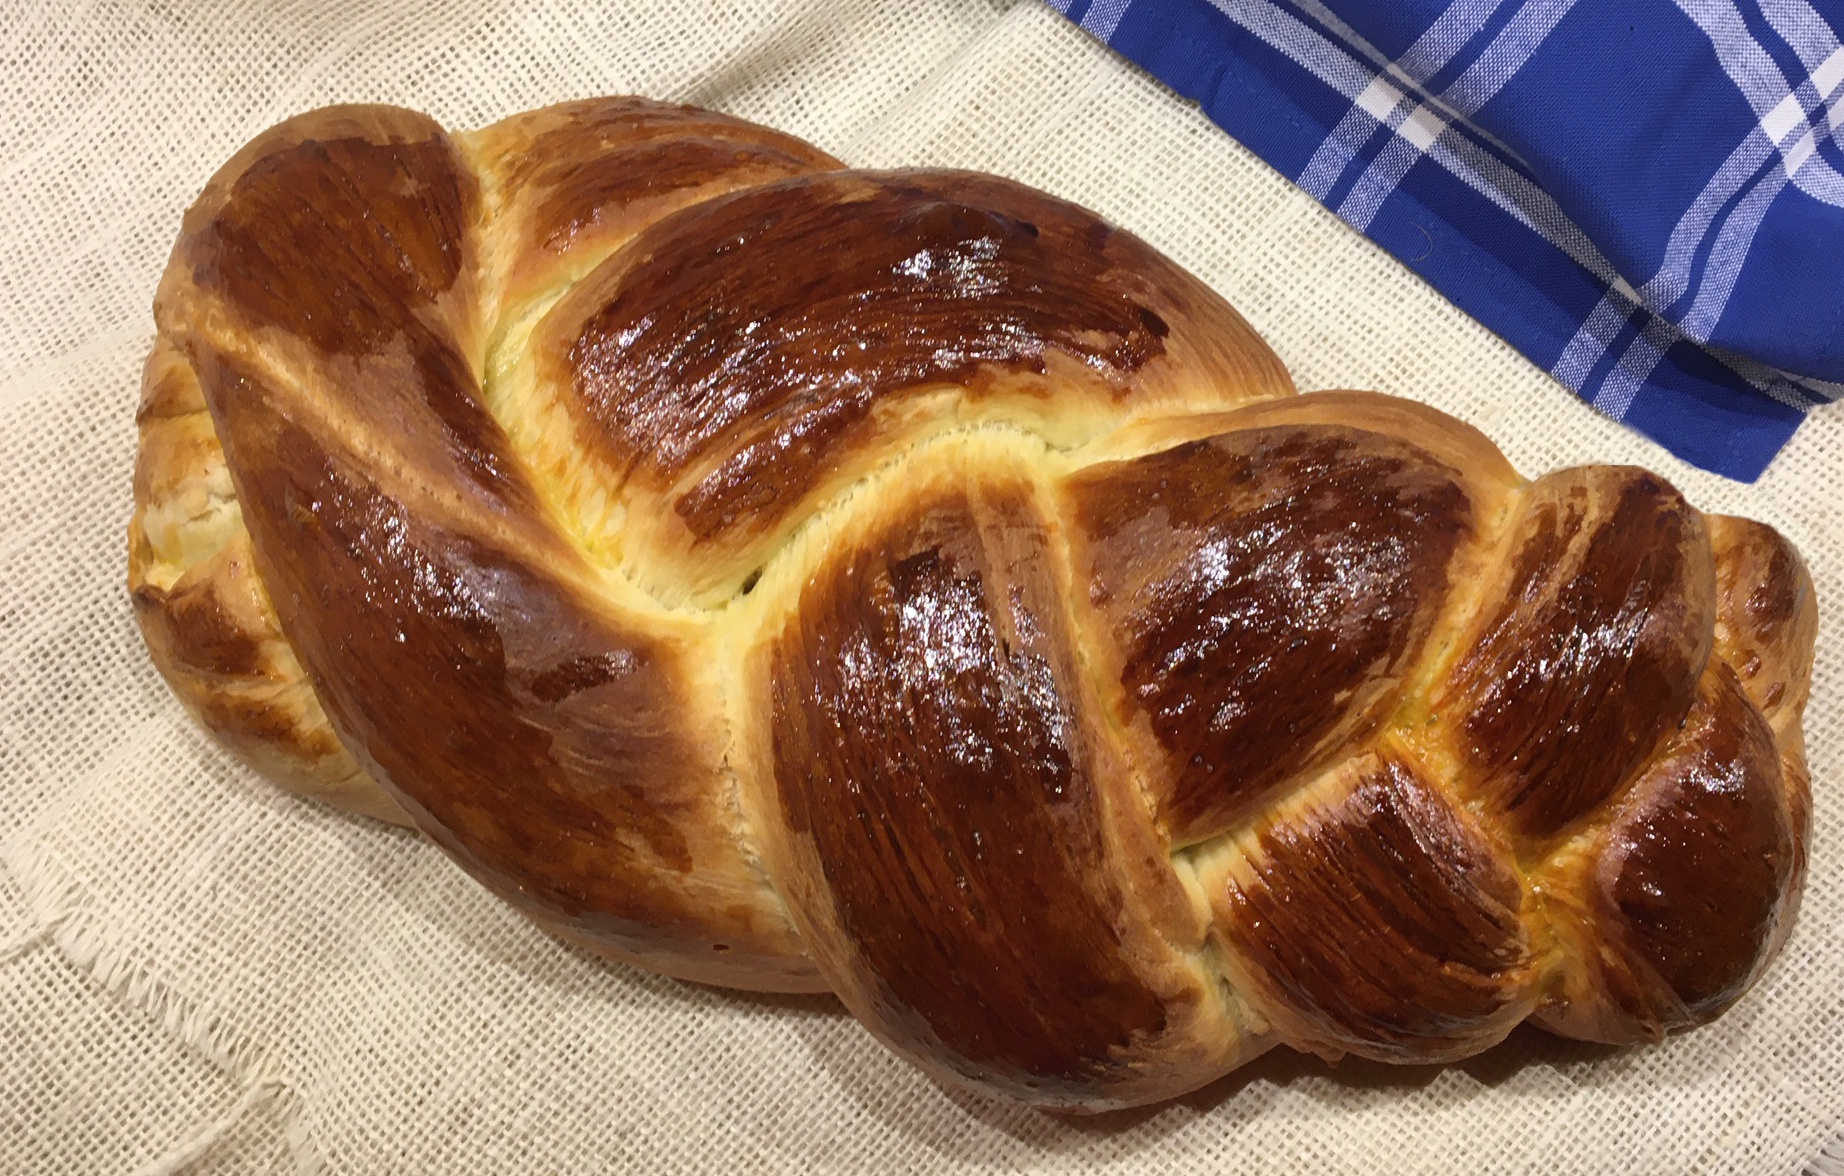
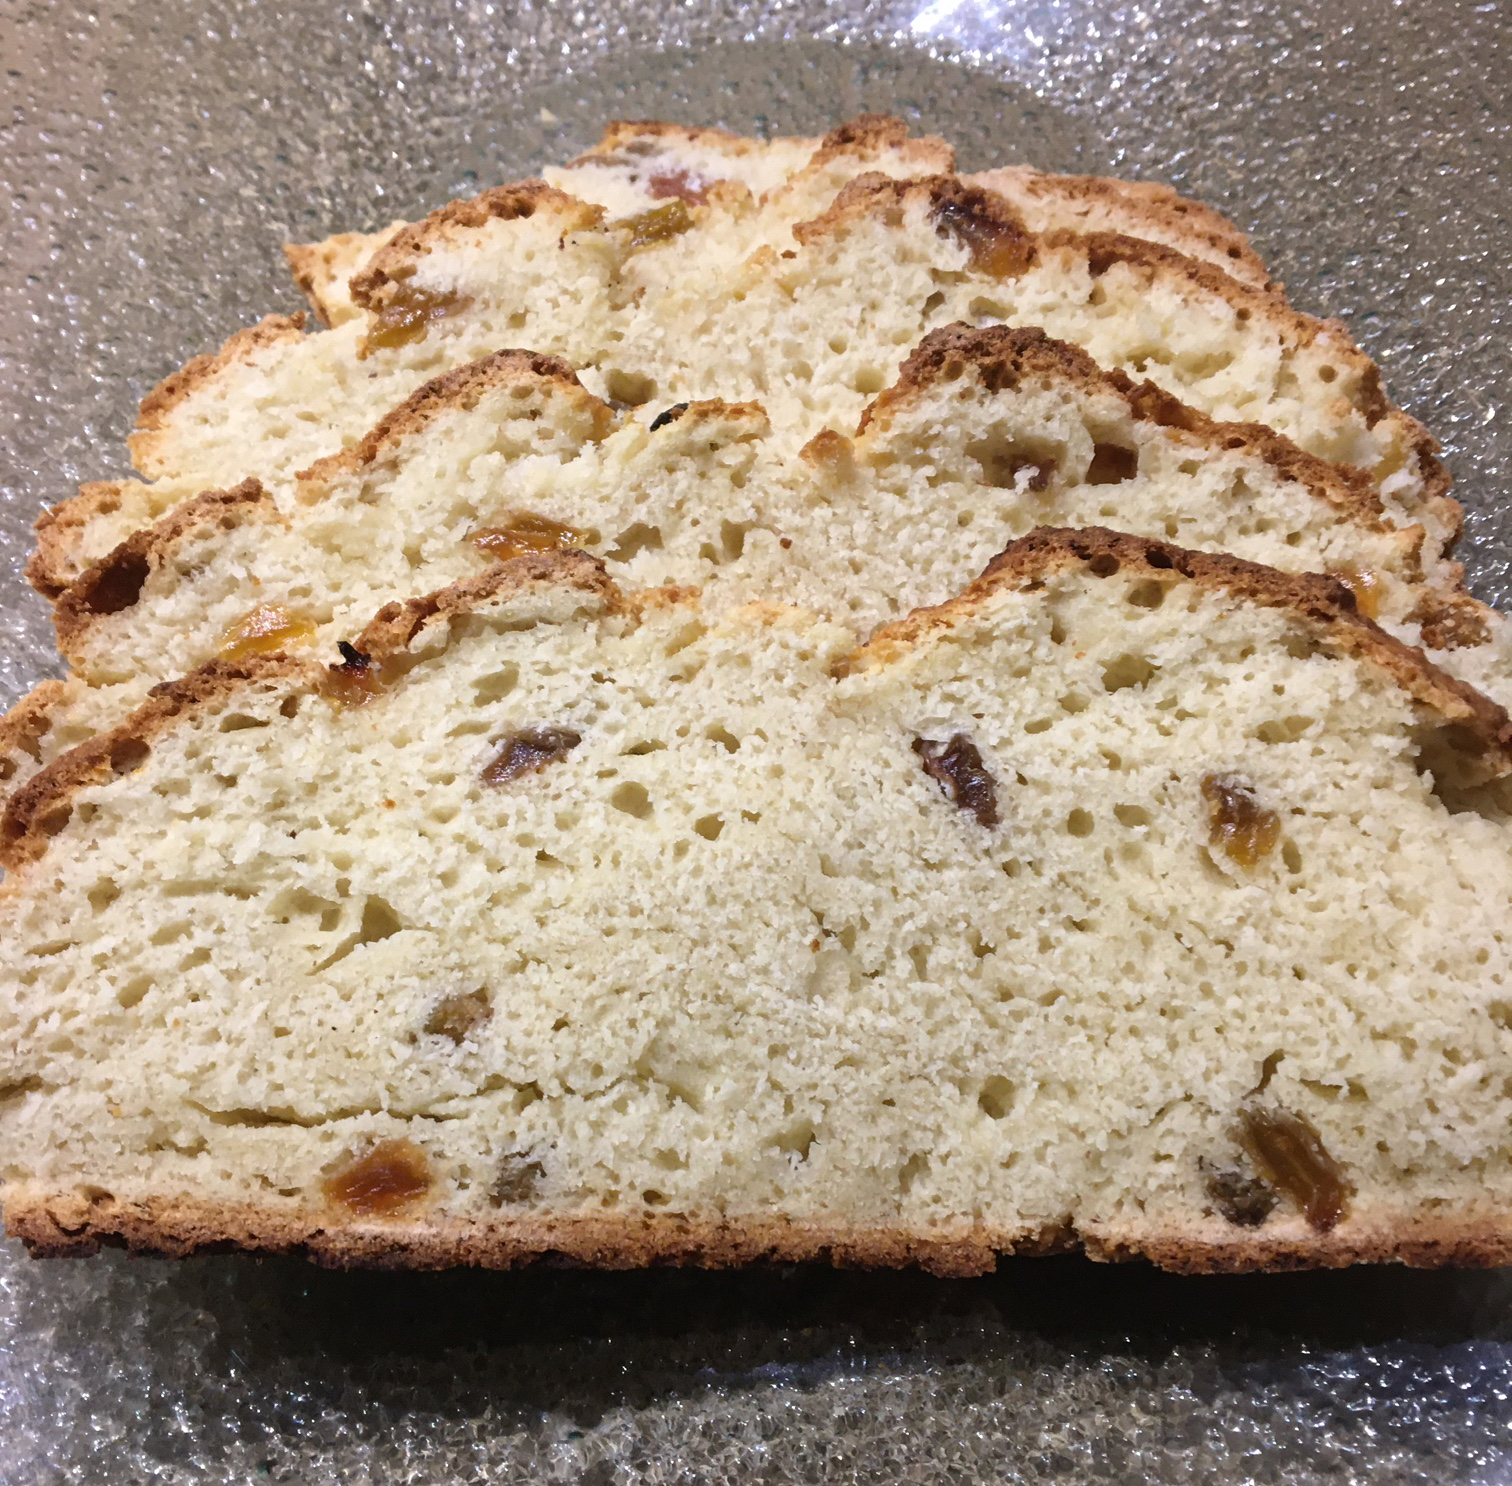
  5. Preheat the oven to 375 degrees F. Meanwhile, whisk the remaining egg with 1 tablespoon of water and brush the tops of the rolls with egg wash. Sprinkle the rolls with sea salt or kosher salt, and bake until they are a deep golden brown color, about 20 minutes. Cool on a wire rack.

Advertisement
English Muffin Toasting Bread

English Muffin Toasting Bread

This is from a King Arthur Flour recipe. This bread comes together very quickly. About an hour and a half, start to finish. One of the easiest breads I have ever made and SO good. My friend Elizabeth shared this recipe with me. The fabulous thermometer shown below is one of her Pampered Chef items that I find myself using all the time. https://www.pamperedchef.com/pws/eatinwithe

Ingredients

  • 3 cups Unbleached flour (King Arthur)Ā 
  • 1 tablespoon (14g) sugar
  • 1 1/2 teaspoons (9g) salt
  • 1/4 teaspoon baking soda
  • 1 tablespoon fast rising yeast
  • 1 cup (227g) milk
  • 1/4 cup (57g) water
  • 2 tablespoons (25g) vegetable oil
  • cornmeal, to sprinkle in pan

Instructions

  1. Whisk together the flour, sugar, salt, baking soda, and instant yeast in a large mixing bowl, or the bowl of a stand mixer.
  2. Combine the milk, water, and oil in a separate, microwave-safe bowl, and heat to between 120°F and 130°F. Be sure to stir the liquid well before measuring its temperature; you want an accurate reading. If you don’t have a thermometer, the liquid will feel quite hot (hotter than lukewarm), but not so hot that it would be uncomfortable as bath water.
  3. Pour the hot liquid over the dry ingredients in the mixing bowl and mix until thoroughlyĀ combined.Ā 
  4. Using an electric beater, or stand mixer with beater attachment, beat at high speed for 1 minute; the dough will be smooth and very soft. If you don’t have an electric mixer, beat by hand for 2 to 3 minutes, or until the dough is smooth and starting to become elastic.
  5. Lightly grease an 8 1/2″ x 4 1/2″ loaf pan, and sprinkle the bottom and sides with cornmeal.
  6. Scoop the soft dough into the pan, leveling it in the pan as much as possible.
  7. Cover the pan, and let the dough rise till it’s just barely crowned over the rim of the pan. When you look at the rim of the pan from eye level, you should see the dough, but it shouldn’t be more than, say, 1/4″ over the rim. This will take about 45 minutes to 1 hour, if you heated the liquid to the correct temperature and your kitchen isn’t very cold. While the dough is rising, preheat the oven to 400°F.
  8. Remove the cover, and bake the bread for 22 to 27 minutes, till it’s golden brown and its interior temperature is 190°F.
  9. Remove the bread from the oven, and after 5 minutes turn it out of the pan onto a rack to cool. Let the bread cool completely before slicing.
Challah Bread

Challah Bread

I love bread in all shapes and forms. I have always wanted to make this bread but was a little intimidated by the braiding.. BUT finding my self at home, as with everyone else, I thought I would give it a try. My braid needs work but I was really happy with the results. So much easier than I expected and this bread is SO good. Similar to brioche in texture. Makes great toast and french toast or bread pudding!!! Thank you to my friend Gloria who gave me Ina Garten’s book “Cooking for Jeffrey.

IMG_7148.JPG

IMG_7130.JPG

IMG_7132.JPG

IMG_7133.JPG

IMG_7134.JPG

IMG_7136.JPG

IMG_7138.JPG

IMG_7140.JPG

IMG_7142.JPG

IMG_7146.JPG

IMG_7149.JPG

Ingredients

1 cup warm (115 degrees F to 120 degrees F) water

2 (1/4-ounce) packages active dry yeast

1/2 cup sugar

1/4 teaspoon saffron threads

3 extra-large eggs, at room temperature

1 extra-large egg yolk, at room temperature

5 1/2 to 6 cups all-purpose flour

1 tablespoon kosher salt

1/4 pound (1 stick) unsalted butter, diced, at room temperature

Vegetable oil

1 extra-large egg beaten with 1 tablespoon water, for egg wash


Directions

  1. Warm the bowl of an electric mixer fitted with the dough hook by rinsing it with hot water. Pour the warm water into the bowl (be sure it’s at least 110 degrees F when it?s in the bowl) and mix in the yeast, sugar and saffron. Allow to sit for 5 minutes, until it starts to froth, which tells you that the yeast is active. Add the eggs and egg yolk and mix on low speed. With the mixer on low, gradually add 4 1/2 cups of the flour, scraping down the bowl as you go. With the mixer on low, add the salt and butter, then slowly add between 1 and 1 1/2 more cups of the flour, mixing on low for about 5 minutes and continuing to add a dusting of flour to the bowl but only enough so the dough doesn’t stick to the bottom of the bowl. The dough will be soft and a little sticky.
  2. Turn the dough out onto a floured board and knead it by hand for a full 2 minutes. Roll the dough into a ball with the smooth side up. Brush a large bowl with vegetable oil and place the dough in the bowl, smooth-side down. Roll the dough around to cover it with oil, then turn it smooth-side up, making sure the entire dough is covered with oil to prevent a crust from forming. Cover the bowl with a clean dry kitchen towel and allow to rise in a warm place for about 2 hours, until doubled in size.
  3. Punch the dough down lightly and turn it out onto an unfloured cutting board. With a sharp knife, cut the dough into 4 equal pieces. Line a sheet pan with parchment paper. Turn the first ball of dough smooth-side up and roll it into a cylinder. Roll the dough into a rope 17 inches long and lay it seam-side down on the parchment paper. Repeat for the other 3 balls of dough, laying them side by side on the parchment paper.
  4. To braid the dough, pile one end of the ropes on top of each other and pinch them together and under. With the pinched end away from you, take the far right rope and move it left over 2 ropes. Then take the far left rope and move it right over 2 ropes. Continue taking alternate ropes and laying them over 2 ropes until you?ve braided the entire bread. Pinch the ends together and fold them under. Cover the bread with a clean dry kitchen towel and allow it to sit in a warm place for 45 to 60 minutes, until doubled in size.
  5. Meanwhile, preheat the oven to 350 degrees F. Place an oven rack in the lower third of the oven. Brush the bread thoroughly with the egg wash and bake for 35 to 40 minutes, until the outside is browned and it sounds hollow when you tap the bottom. Place the challah on a baking rack and cool completely.

Cook’s Note

To make ahead, bake the challah, cool completely, wrap tightly and refrigerate for up to 3 days or freeze for up to 4 months.

Irish Soda Bread

Irish Soda Bread

EEA5659B-19E3-4BBA-842A-7496B440EE73.JPG

My mother made this on St Patrick’s day every year. My father LOVED this holiday. This bread is super easy – no yeast involved- Super quick- no rising time and could make a fun baking project these days with everyone stuck at home. A Home Ec project ready to go. I got this recipe from Sally’s Baking Addiction. I was trying to take photos while putting the dinner together so they are not great but the bread is delicious! This is wonderful toasted the next day for breakfast!!!

IMG_6967.JPG

IMG_6968.JPG

IMG_6971.JPG

IMG_6975.JPG

Ingredients

1 and 3/4 cupsĀ  buttermilk*

1Ā largeĀ egg

4 and 1/4 cupsĀ all-purpose flourĀ (plus more for your hands and counter)

3 Tablespoons granulated sugar

1 teaspoonĀ baking soda

1 teaspoonĀ salt

5 Tablespoons unsalted butter, cold and cubed*

1 cup golden or dark raisins

Instructions

Preheat oven to 400°F. Line a baking sheet with parchment paper or a silicone baking mat.

Whisk the buttermilk and egg together. Set aside. Whisk the flour, granulated sugar, baking soda, and salt together in a large bowl. Cut in the butter using your fingers. Work the dough until into coarse crumbs, then stir in the raisins. Pour in the buttermilk/egg mixture. Gently fold the dough together until dough it is too stiff to stir. With floured hands on a lightly floured surface, work the dough into an (approximately) 8 or 9 inch round loaf as best you can. Knead the dough for about 30 seconds or until all the flour is moistened. If the dough is too sticky, add a little more flour.

Transfer the dough to the prepared pan. Using a very sharp knife, score an X into the top. Bake until the bread is golden brown and center appears cooked through, about 45 minutes. Loosely cover the bread with aluminum foil if you notice heavy browning on top. I usually place foil on top halfway through bake time.

Remove from the oven and allow bread to cool for 10 minutes, then transfer to a wire rack. Serve warm, at room temperature, or toasted with desired toppings/spreads.

Cover and store bread at room temperature for 2 days or in the refrigerator for up to 1 week.


*Buttermilk is key to the bread’s flavor, texture, and rise. If you don’t have any buttermilk on hand, you can make a homemade ā€œDIYā€ version. Whole milk or 2% milk is best. Add 1 Tablespoon of fresh lemon juice or white vinegar to a liquid measuring cup. Add enough milk to make 1 and 3/4 cup. Whisk together, then let sit for 5 minutes before using in the recipe.

Pita Bread

Pita Bread

IMG_3367.jpg

I know what you are saying… why would I make it when I can just buy a bag in the store? But then you would never know the delicious, habit forming, and really pretty easy, joy of making it and eating it fresh and warm from the oven. These are warm, doughy bits of deliciousness. Please try!!! From the New York Times recipe. My brother and sister-in-law introduced me to this recipe and it is very easy. I have used a pizza stone and a cookie sheet and the pizza stone does work best.

IMG_3350.jpg

IMG_3229.jpg

IMG_3230.jpg

IMG_0263.jpg

IMG_3359.jpg

IMG_3362.jpg

pita.jpg

INGREDIENTS

2 teaspoons active dry yeast
1/2 teaspoon sugar
1/4 cup whole-wheat flour
2 1/2 cups unbleached all purposed flour
1 teaspoon kosher salt
2 tablespoons olive oil

PREPARATION

Step 1
Make sponge: Put 1 cup lukewarm water in a large mixing bowl.
Add yeast and sugar. Stir to dissolve. Add the whole-wheat flour and 1/4 cup all-purpose flour and whisk together. Put bowl in a warm (not hot) place, uncovered, until mixture is frothy and bubbling, about 15 minutes.

Step 2
Add salt, olive oil and nearly all remaining all-purpose flour (reserve 1/2 cup) ]. With a wooden spoon or a pair of chopsticks, stir until mixture forms a shaggy mass. Dust with a little reserved flour, then knead in bowl for 1 minute, incorporating any stray bits of dry dough.

Step 3
Turn dough onto work surface. Knead lightly for 2 minutes, until smooth. Cover and let rest 10 minutes, then knead again for 2 minutes. Try not to add too much reserved flour; the dough should be soft and a bit moist. (At this point, dough may refrigerated in a large zippered plastic bag for several hours or overnight. Bring dough back to room temperature, knead into a ball and proceed with recipe.)

Step 4
Clean the mixing bowl and put dough back in it. Cover bowl tightly with plastic wrap, then cover with a towel. Put bowl in a warm (not hot) place. Leave until dough has doubled in size, about 1 hour.

Step 5
Heat oven to 475 degrees. On bottom shelf of oven, place a heavy-duty baking sheet, large cast-iron pan or ceramic bakingĀ  tile. Punch down dough and divide into 8 pieces of equal size. Form each piece into a little ball. Place dough balls on work surface, cover with a damp towel and leave for 10 minutes.

Step 6
Remove 1 ball (keeping others covered) and press into a flat disc with rolling pin. Roll to a 6-inch circle, then to an 8-inch diameter, about 1/8 inch thick, dusting with flour if necessary. (The dough will shrink a bit while baking.)

Step 7
Carefully lift the dough circle and place quickly on hot baking sheet. After 2 minutes the dough should be nicely puffed. Turn over with tongs or spatula and bake 1 minute more. The pita should be pale, with only a few brown speckles. Transfer warm pita to a napkin-lined basket and cover so bread stays soft. Repeat with the rest of the dough balls.

8 six-inch diameter breads